When I first started designing outdoor spaces, I quickly realized that garden pathways are more than just a way to get from A to B — they set the tone for how you experience the entire garden. A well-designed path guides movement, frames views, and brings rhythm to the landscape.
Purpose first: access, circulation, and focal points
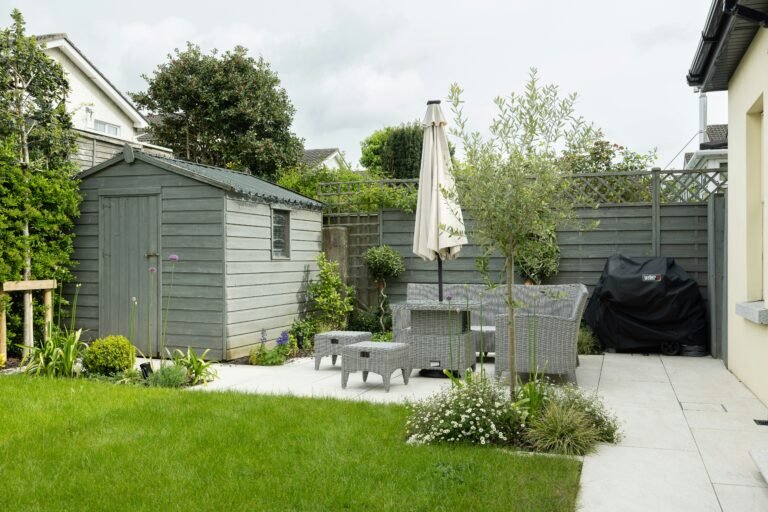
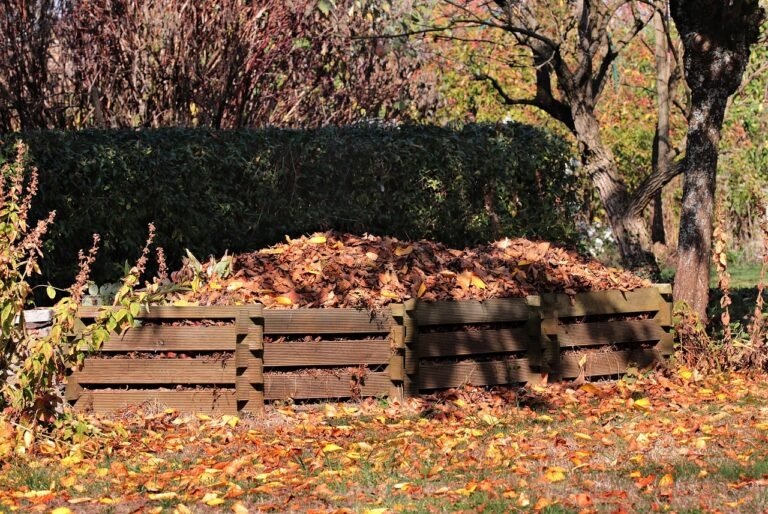
Before choosing materials or patterns, I always ask: What’s this path for? A pathway that connects the patio to the shed has different needs than one that winds through a flower garden. Functional routes — such as to the compost area or garage — benefit from durable materials and clear lines, while meandering trails work best with softer, more natural surfaces like gravel or mulch. Think of your pathways as arteries of the garden — each one should have a reason to exist.
Aesthetics + function: proportion, rhythm, and sightlines
A beautiful pathway should lead the eye as much as the foot. Straight lines emphasize formality and order, while curves create discovery and calm. Repeating visual elements — such as stone shapes or edging types — establishes rhythm and flow. One trick I often use is aligning paths with focal points, like a birdbath or tree, to anchor the space visually.
Matching path style to home architecture and garden theme
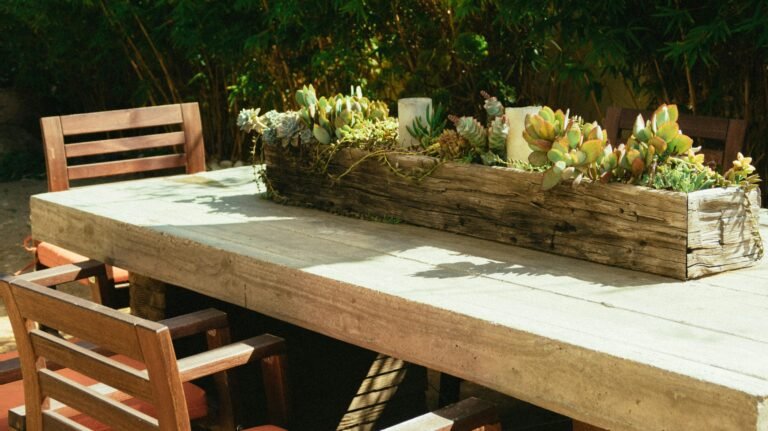
The pathway should feel like a natural extension of your home. A brick walkway suits a traditional house, while timber sleepers or decomposed granite complement rustic or modern naturalistic gardens. Harmony between the house’s materials and the path’s texture creates coherence that feels effortless.
For inspiration, landscape design resources such as Garden Design Magazine or RHS Garden Planning offer examples of how proportion and material selection shape outdoor flow.
Quick tip: Sketch your garden layout before breaking ground. Even a simple plan can help you visualize movement and identify opportunities to highlight key views or planting beds.
Plan the Route: Function, Flow & Scale
When planning garden pathways, I like to think about how people naturally move through the space — what designers call desire lines. These are the intuitive routes your guests (and you) will take, even before a path is built. A great pathway respects those instincts and then refines them for comfort, beauty, and durability.
Mapping desire lines and choosing primary vs. secondary routes
Walk your garden and notice where your feet already want to go. Those tracks often reveal the most practical routes. Your primary paths connect major zones like the patio, kitchen door, and shed; they need to be wider and made from stable, long-lasting materials. Secondary paths, which might weave through flower beds or vegetable plots, can be narrower and softer underfoot — gravel, mulch, or stepping stones work well here. Balancing both ensures structure and charm coexist.
Width, curvature, and turning radii
For comfort, a main path should be about 90–120 cm wide — enough for two people to walk side by side. Curves should feel natural, not forced; too tight, and they seem artificial. I usually test a layout with a garden hose or rope before committing. This lets you adjust curves and intersections until movement feels right. Remember: paths should invite exploration, not restrict it.
Local codes, frost depth, and slope limits
If you live in a cold climate, consider frost depth when laying sub-bases — this prevents cracking or heaving in winter. Check local building codes for slope limits and accessibility guidelines; gentle inclines under 5% are safest. For steep areas, adding steps or terracing improves traction and looks more intentional.
The University of Minnesota Extension has an excellent guide on outdoor slope management and frost considerations — worth consulting before construction begins.
Pro tip: Try walking your path after rain. Natural puddles or muddy areas often indicate where drainage or route adjustments are needed.
Types of Garden Pathways: Materials & Styles
Choosing the right material for your garden pathways defines both the look and feel of your outdoor space. The material determines how the path sounds underfoot, how it ages, and how it ties your garden together. Over the years, I’ve learned that balancing aesthetics, maintenance, and budget is the key to long-term satisfaction.

Gravel, decomposed granite, and permeable paving
Loose materials like gravel or decomposed granite (DG) create informal charm and excellent drainage. DG, in particular, offers a compacted yet soft surface that resists weeds and erosion. For eco-conscious designs, permeable paving systems — such as open-jointed pavers or porous concrete — let rainwater filter through, reducing runoff. These options support sustainability while maintaining a natural feel.
Flagstone, brick, and pavers
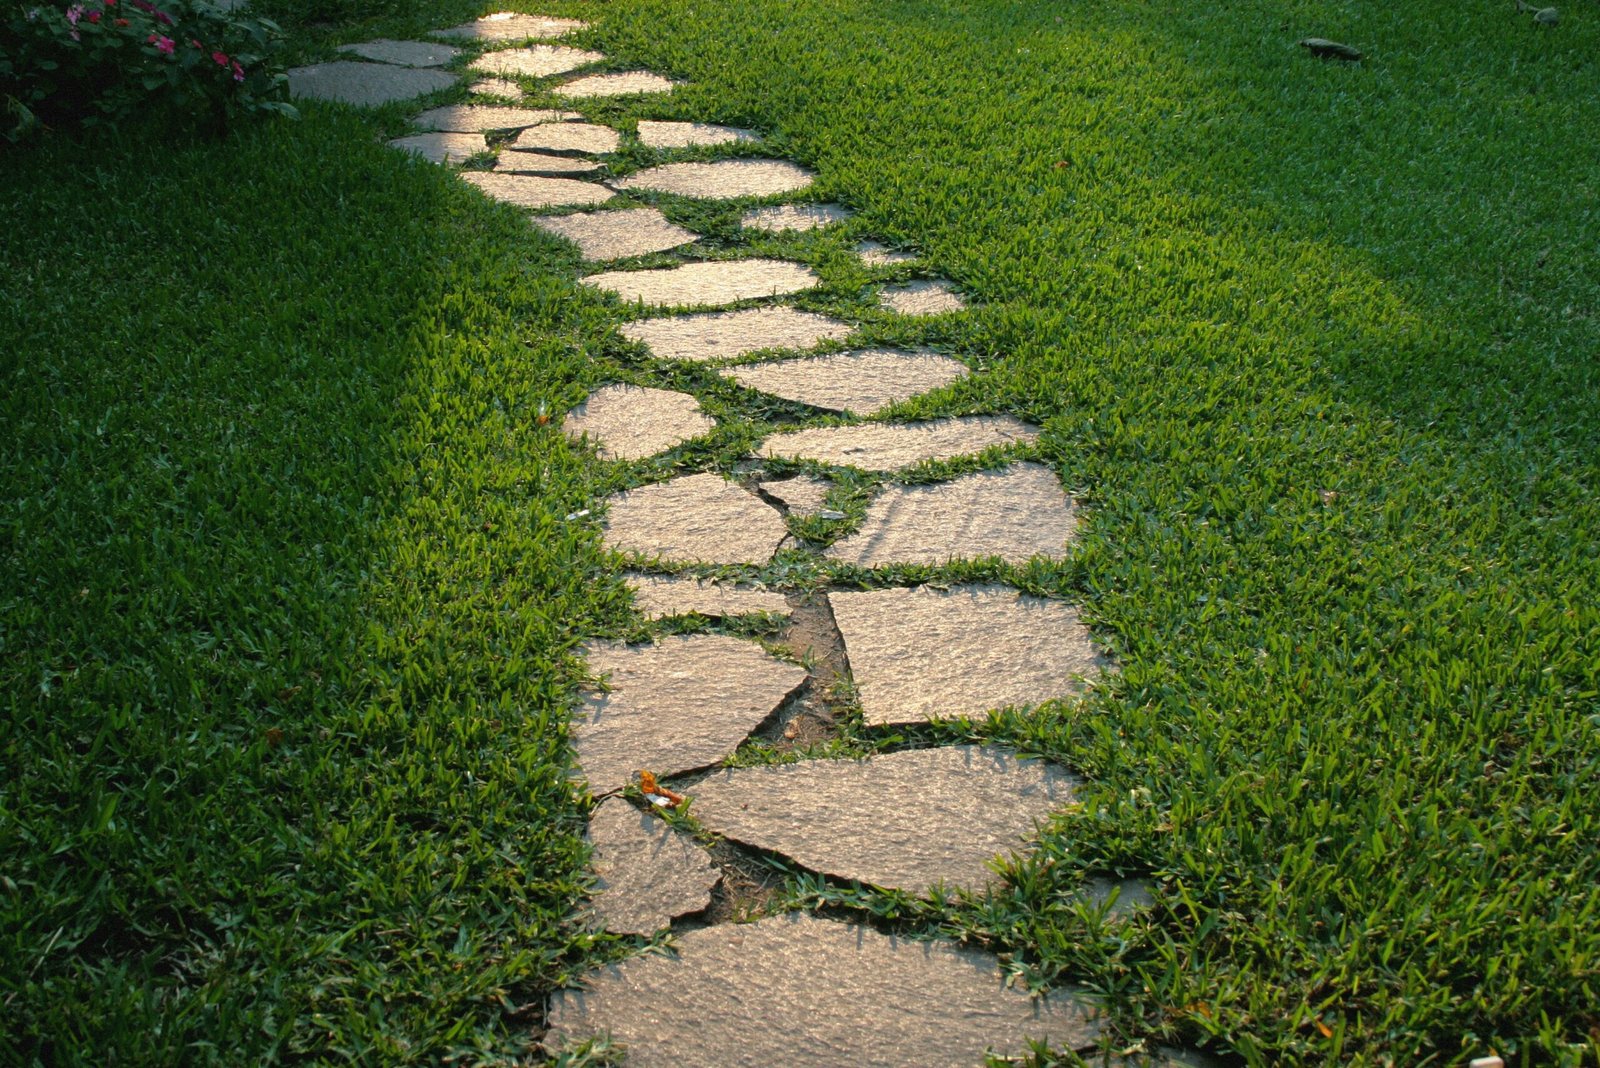
Flagstone remains a timeless favorite for structured garden path ideas. Its irregular shapes lend a handcrafted look, while brick and pavers provide neat geometry perfect for traditional gardens. Patterns like running bond or herringbone add visual rhythm and strength to heavily used paths. According to Better Homes & Gardens, these classic materials also complement most architectural styles, making them reliable choices for long-term design harmony.
Stepping stones, timber sleepers, and mixed-material designs
For a more organic touch, stepping stones through turf or gravel allow flexibility and visual interest. Timber sleepers blend beautifully with rustic or Japanese-style gardens but should be pressure-treated or hardwood to withstand moisture. Combining materials — like stone slabs bordered by brick or gravel — creates texture and contrast, giving your garden unique character.
Pros and cons: cost, maintenance, traction, longevity
Each material has trade-offs. Gravel and DG are affordable and quick to install but require periodic topping up. Flagstone and brick are durable yet demand a solid base and occasional joint maintenance. Timber offers warmth but ages faster. Always factor in climate and foot traffic when deciding.
Tip: Test materials underfoot before purchasing — texture, grip, and even sound contribute to the atmosphere of your pathway.
Garden Pathways Layout & Construction Basics
Designing a garden pathway is one thing — building it to last is another. A well-laid path should stay stable through seasons, shed water properly, and maintain its look for years. I’ve found that spending extra time on preparation pays off exponentially in reduced maintenance and a more polished result.
Marking, excavation, base, and sub-base
Begin by marking your path layout using stakes and string or a garden hose. Once satisfied, excavate to the proper depth — typically 10–15 cm for gravel paths and up to 20–25 cm for pavers or stone. A solid sub-base of compacted crushed stone ensures drainage and prevents shifting. For wet climates, I like to lay a geotextile fabric beneath to stop weeds and separate soil from the base material.
Setting edges (steel, brick, concrete, and landscape edging)
Edging defines the path and prevents your surface material from spreading into the garden. Steel or aluminum edging offers a sleek, modern line, while brick or concrete creates a more traditional border. Flexible landscape edging is great for curved routes and low-maintenance designs. Whatever material you choose, make sure it’s anchored deep enough to hold firm through freeze-thaw cycles.
Laying the surface: compaction, joints, and permeability
For loose materials like gravel or decomposed granite, compact in thin layers for even firmness. When working with pavers or bricks, maintain consistent spacing for clean joints — polymeric sand can lock them in place while resisting weeds. If you’re using permeable surfaces, avoid sealing or over-compacting; permeability is part of the drainage system.
Accessibility & safety: gradients, handrails, and slip resistance
Paths should be functional for everyone. Avoid steep slopes where possible; if unavoidable, install small steps or textured surfaces for traction. For shaded or damp areas, non-slip finishes or lightly roughened stone help prevent accidents. Handrails can be both functional and stylish if integrated into retaining walls or plant borders.
The Royal Horticultural Society offers detailed construction guides emphasizing proper base depth and compaction — a resource I often recommend for DIY gardeners and professionals alike.
Checklist for builders:
- ✅ Plan drainage and slope before laying materials
- ✅ Compact sub-base thoroughly
- ✅ Use consistent edging for a finished look
- ✅ Confirm accessibility (width, incline, grip)
Finishing Touches: Lighting, Planting & Edging
Once your garden pathway is built, it’s time for the details that turn a solid design into a memorable experience. These finishing touches — from lighting to plants — enhance both beauty and usability, tying the entire garden together with polish and personality.

Low-glare path lighting
Lighting transforms pathways after sunset, improving safety and adding ambiance. I prefer low-voltage or solar lights that cast a soft glow rather than harsh beams. Bollard lights or recessed step lights highlight the route without overwhelming nearby plants. For a subtle look, try downlighting from trees or walls — it mimics moonlight beautifully. Gardenista offers great examples of how thoughtful outdoor lighting can elevate simple garden paths.
Tip: Avoid placing lights directly in the line of sight; indirect illumination feels more natural and calming.
Planting palettes for edges
Edges are opportunities to soften the hard lines of paving. Low-growing groundcovers, like thyme or sedum, spill attractively over stone edges. Ornamental grasses add motion and sound, while fragrant herbs like lavender or rosemary engage the senses. In shady spots, hostas or ferns create lush borders that complement the path’s texture. I like mixing perennials with seasonal bulbs — it ensures interest all year round.
To find beautiful, low-maintenance native species that complement your path design, check out Why Native Plants Belong in Your Garden (And the Best Ones to Grow).
Water management and grading tie-ins
Even the most beautiful path can fail if it traps water. Integrate shallow swales, rain gardens, or French drains to manage runoff. For permeable surfaces, ensure sub-bases are graded to direct excess water away from buildings. This not only protects your path but also nourishes surrounding plantings.
For more ideas on pairing efficient water management with stunning landscape design, explore Xeriscaping Ideas: Low-Water Gardening Tips for Drought-Proof Yards.
Maintenance plan and budget
Good design includes planning for upkeep. Sweep gravel paths seasonally, refill as needed, and clear weeds early. Rinse stone or brick to prevent algae build-up, especially in shaded or damp areas. A modest yearly maintenance budget — even just for topping materials or resetting edges — helps preserve the integrity of your pathways for years.
Quick checklist:
- 💡 Add low-glare lighting for safety and mood
- 🌿 Choose low, spreading plants for soft edges
- 💧 Ensure proper drainage and runoff solutions
- 🧹 Schedule seasonal cleaning and minor repairs
A few thoughtful details can turn a functional walkway into a signature feature — one that guides, welcomes, and delights at every step.
Conclusion
Designing beautiful and functional garden pathways is a rewarding process that blends creativity, practicality, and craftsmanship. I’ve always believed that a great path tells a story — it guides you through textures, scents, and views that define the personality of your garden. Whether you prefer the crisp geometry of pavers or the soft crunch of gravel underfoot, the best designs harmonize with both the home and the landscape.
The key is balance: start with purpose and flow, then refine with the right materials, edges, and lighting. Thoughtful details — like plant borders, gentle curves, and permeable bases — ensure your pathways stay inviting and low-maintenance for years. Even small updates, such as better lighting or edging, can transform a tired walkway into a space that feels intentional and welcoming.
If you’re inspired to start your own project, sketch your ideas, gather material samples, and walk your garden to imagine how the path will feel in real life. When you’re ready, explore tutorials from trusted sources like RHS or Better Homes & Gardens to refine your plans.
✨ Ready to reimagine your outdoor space? Begin with your pathways — and let every step through your garden tell a story of beauty, purpose, and care.
Alex is the creator of Homely Haven, a space dedicated to simple, stylish ideas for interiors and gardens alike. With a passion for cozy living rooms, inviting outdoor spaces, and practical DIY solutions, Alex shares tips and guides that help turn any house into a true home.
From budget-friendly decorating hacks to weekend garden projects, the goal is always the same: to inspire you to create spaces that feel personal, beautiful, and welcoming. When not writing, Alex is usually rearranging furniture, sketching new garden layouts, or exploring design trends for the next project.