Stop me if this sounds familiar…
You’ve been thinking about composting. Maybe you want to cut down on food waste, save money on fertiliser, or just feel a little better about what you’re tossing in the bin. But every time you look up how to get started, you’re bombarded with £200 compost tumblers, complicated setups, and a load of advice that feels more overwhelming than helpful.
You’re left thinking: “Isn’t there a simple way to do this?”
There is — and the answer is a simple DIY compost bin you can build in under an hour. You don’t need to be a pro to pull it off.
Whether you’ve got a tiny patio or a full garden, you can build a working compost bin in under an hour using materials you probably already have lying around. No fuss. No power tools required (unless you want to get fancy).
In this DIY compost bin guide, you’ll learn:
- Why composting is worth your time (even if you’re not into gardening)
- What a compost bin actually needs to work
- Three super simple DIY bin options, each tailored to different living spaces and skill levels
This is your no-stress, low-cost, get-it-done-today intro to composting. Let’s go.
Why Composting Matters
Let’s be honest — composting sounds like one of those things that’s nice in theory but maybe a bit much in practice. But once you realise what it actually does (and how little effort it takes), it becomes a no-brainer.
Here’s why it’s worth it:
🌍 It cuts your waste in half
The average UK household throws away nearly 70kg of food per person each year (WRAP, 2023). That’s not just wasteful — it’s money straight in the bin. Composting diverts that food waste from landfill, where it would otherwise release harmful methane gas.
🌱 It turns waste into something useful
Compost isn’t just dirt. It’s nutrient-rich goodness your garden, plants, or lawn will love. Even if you’re not a keen gardener, you can give it away to someone who is. (Trust us, they’ll be thrilled.)
💸 It saves you money
Skip the pricey fertilisers and soil conditioners. Your homemade compost does the job naturally — and for free.
🐛 It teaches you to notice
Once you start composting, you’ll be amazed at how much of what you throw out can actually be reused. It shifts the way you think about food, waste, and consumption — and it’s kind of addictive.
The best part? You don’t need a fancy setup or a green thumb to get started. All you need is a basic bin, the right mix of materials, and a little patience.
DIY Compost Bin Basics (What You Actually Need)
Before you grab a drill or start eyeing your recycling bin, it helps to know what a compost bin actually needs to work. Forget the fancy bells and whistles — these are the core essentials:
🌀 Airflow
Compost needs oxygen to break down properly. Without it, your pile can turn into a smelly, soggy mess. That’s why your bin needs ventilation — either via drilled holes, slats, or gaps.
🌧️ Moisture Control
Too dry, and the decomposition slows to a crawl. Too wet, and you’ll end up with sludge. Your bin should let excess water drain out, especially if it’s exposed to rain.
♻️ Access
You’ll need to get into the bin now and then to stir things up — mixing greens and browns, checking moisture levels, or harvesting finished compost. If you can’t reach it easily, you’ll stop bothering.
🏠 Containment
You’re not throwing scraps in a heap. You need a bin that keeps everything together and discourages pests. Even the simplest container — a plastic bin, crate, or old trash can — can work if it’s secure.
That’s it. No need for motorised tumblers or complicated compartments. If your bin checks those four boxes — airflow, drainage, access, and containment you’re good to go.
Now let’s look at three ways to build one yourself in under an hour.
3 Quick DIY Compost Bin Options (All Under an Hour)
You don’t need carpentry skills, a shed full of tools, or a big garden to build a compost bin. These three options are beginner-friendly, cheap (or free), and can be done in under an hour — start to finish.
Option 1: DIY Compost Bin – Plastic Storage Bin Method
When I built my first DIY compost bin this way, I was surprised how fast it filled up and how quickly the scraps started breaking down.
Best for: Small spaces, patios, balconies, renters
What you’ll need:
- 1 plastic storage bin with a lid (ideally 60–80L)
- A drill or something to poke holes (a screwdriver and some elbow grease works too)
How to build it:
- Drill small holes all around the bin — sides, bottom, and lid. This gives airflow and drainage.
- Place a few twigs or cardboard strips at the bottom to help with drainage.
- That’s it. Start adding your compost materials: greens (food scraps) and browns (cardboard, leaves, etc.).
Why it works:
It’s cheap, compact, and keeps everything contained. Plus, you can easily move it if needed.
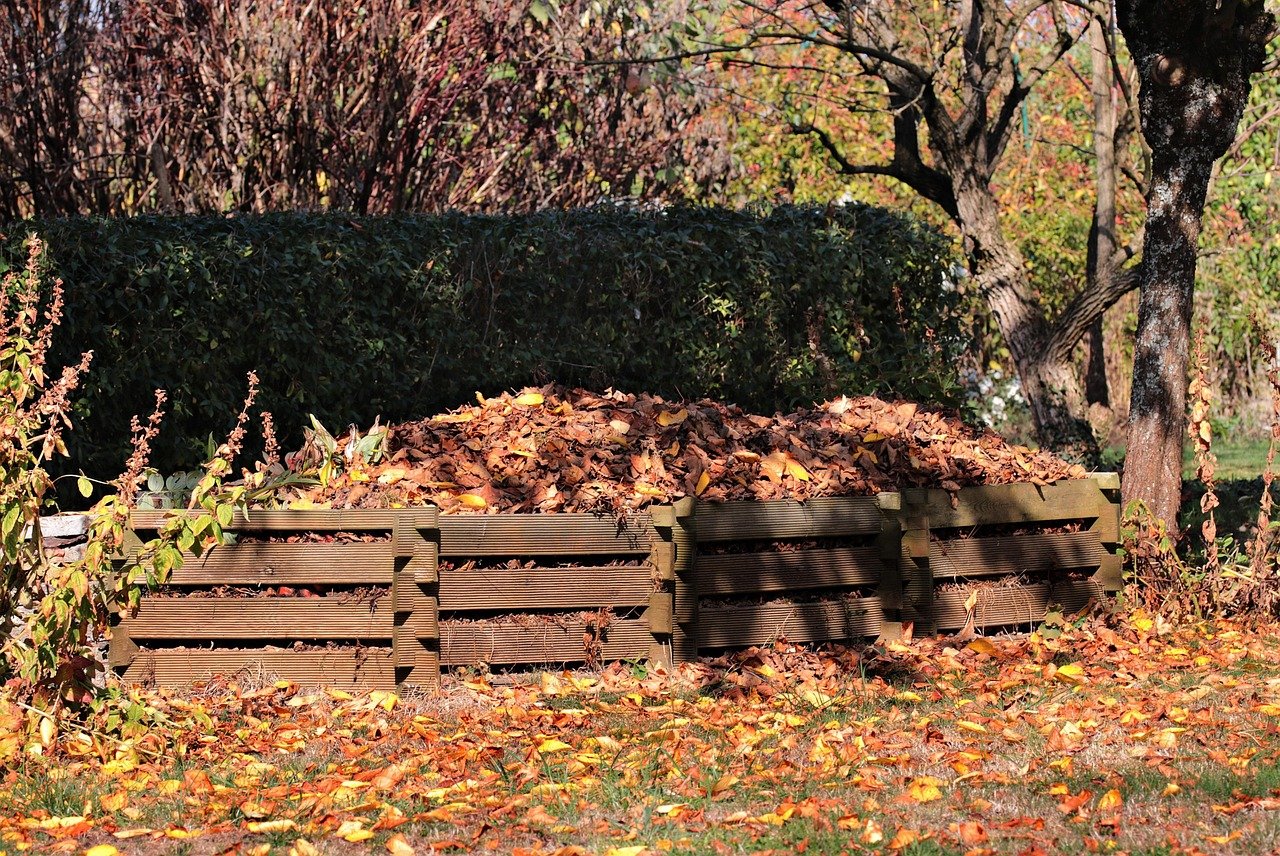
Option 2: Wooden Pallet Bin
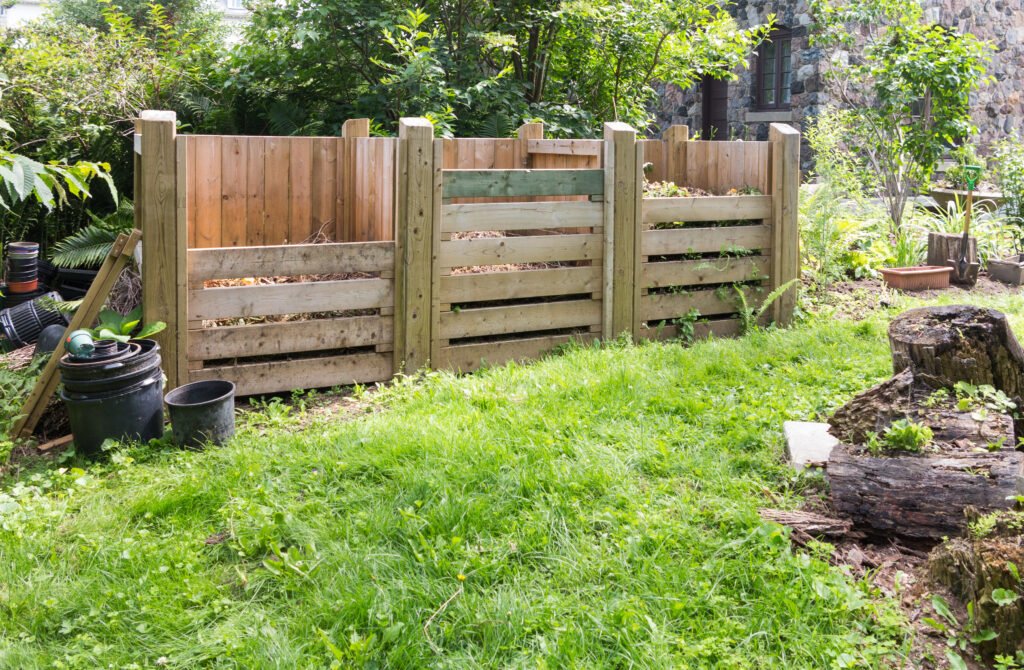
Best for: Gardens, allotments, anyone with more outdoor space
What you’ll need:
- 3 to 4 wooden pallets (often free from garden centres or DIY stores)
- Zip ties, nails, or screws (and a drill/hammer)
How to build it:
- Stand three pallets upright in a U-shape — two sides and one back.
- Secure them together using zip ties or screws.
- Add a fourth pallet as a front panel, hinged or removable if you want easier access.
Why it works:
It’s breathable, sturdy, and gives you a decent amount of space for regular composting. And if you like the rustic look, it blends into most gardens.
My tip: pallets often come with nails sticking out. I learned the hard way, so wear gloves when handling them.
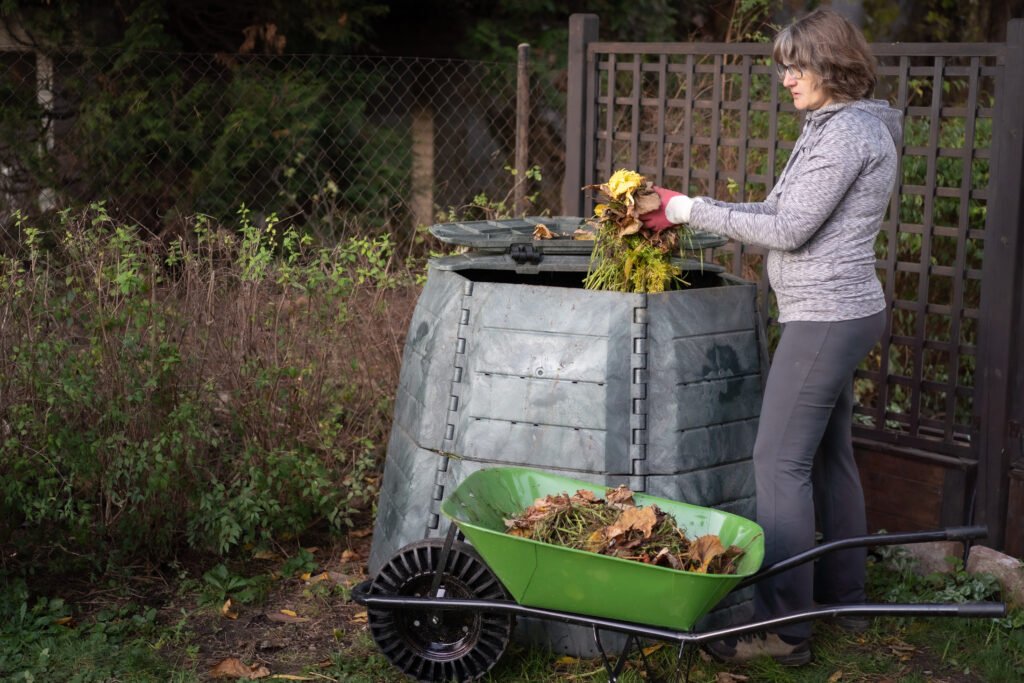
Option 3: Repurposed Rubbish Bin (Dustbin Style)
Best for: Budget DIYers, people with limited tools
What you’ll need:
- 1 old rubbish bin with a lid (plastic is best)
- A drill or something sharp to punch holes
How to build it:
- Drill holes all around the sides and base for airflow and drainage.
- If you want, cut off the bottom completely and place the bin directly on soil for better drainage and worm access.
- Start layering your compost materials.
Why it works:
You’re reusing something you already have, and the lid keeps smells in and pests out. It’s great for a no-fuss setup.
All three options follow the same principles, just adapted for your space and what you’ve got lying around. Choose whichever one fits your life best — and get building.
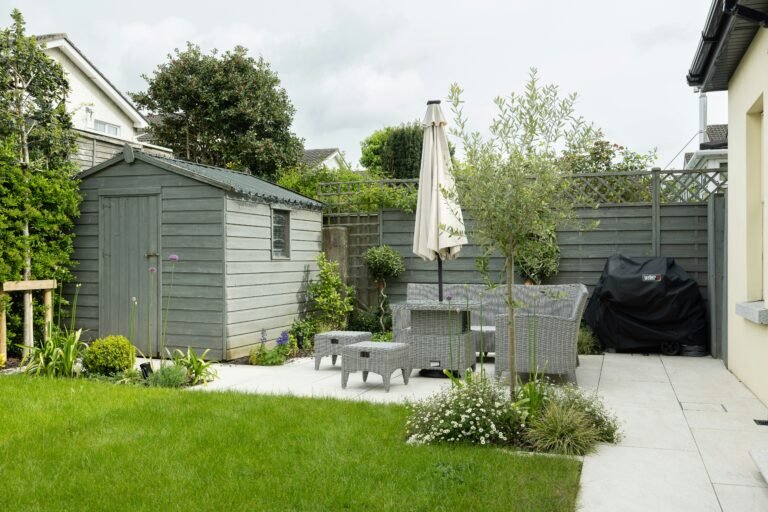
Bonus Tips for Placement & Maintenance of Your DIY Compost Bin
Building your bin is the first step — but where you put it and how you look after it makes a big difference. I once put my bin in full sun – big mistake. It dried out too fast. Now I always keep mine in light shade. Here’s how to keep your compost bin working like a charm (without turning it into a chore).
📍 Where Should You Put It?
- Somewhere with drainage: Grass or bare soil is ideal, especially for bins without a base. It helps worms and microbes do their thing.
- Not too sunny, not too shady: A bit of shade keeps it from drying out, but some sun helps speed up decomposition. Aim for a balance.
- Easy to access: If you have to hike across your garden to reach it, you won’t use it. Keep it close to your kitchen or garden path.
🚫 How to Prevent Smells & Pests
Smells usually mean something’s off — too many food scraps, too wet, or not enough airflow. Here’s how to fix that:
- Add “browns” regularly: Cardboard, shredded newspaper, dry leaves — these balance out food scraps and reduce odours.
- Avoid meat, dairy, and oily foods: These attract pests and slow things down.
- Keep it covered: A lid or tarp helps control moisture and keeps animals out.
🔁 What Can (and Can’t) You Compost?
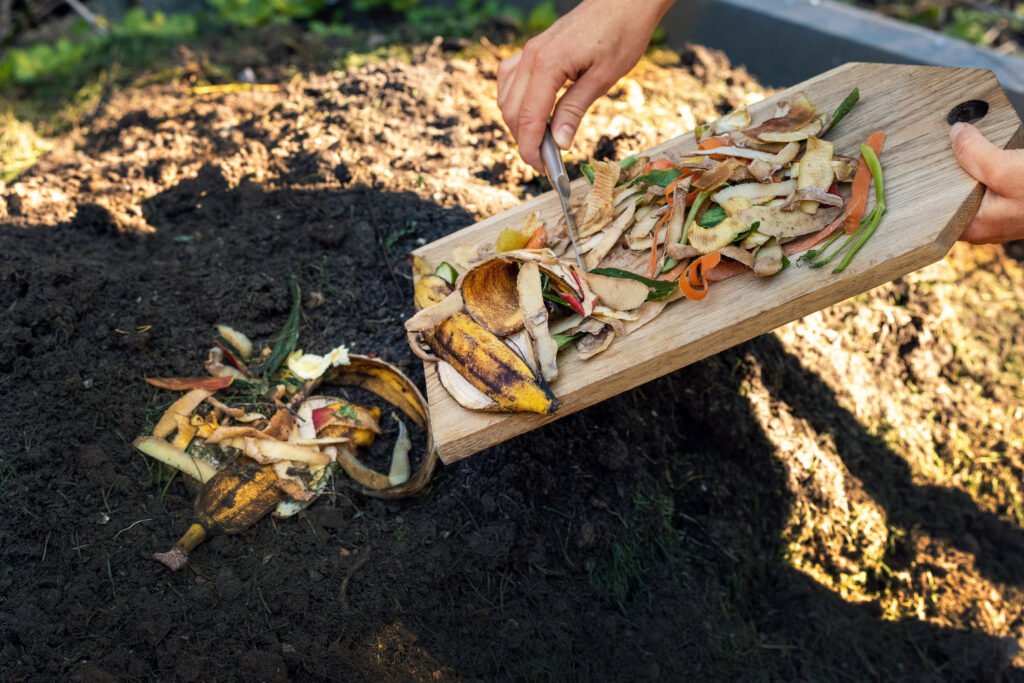
Compost this:
- Fruit and veg scraps
- Coffee grounds and tea bags (no plastic ones)
- Eggshells
- Shredded cardboard, newspaper
- Grass clippings, leaves
Avoid these:
- Meat, dairy, fish
- Cooked food
- Glossy paper
- Pet waste
- Diseased plants
🔄 Turn It (Sometimes)
You don’t need to stir your compost every day, but giving it a turn every couple of weeks helps it break down faster. If you’re using a bin with limited space, just shake it or mix it with a garden fork.
Keep those basics in mind, and your compost bin will do its job without fuss — breaking down scraps into rich, crumbly compost you can use anywhere plants grow.
Final Encouragement & Next Steps
So there it is — a working compost bin, built in under an hour, using materials you either already have or can grab for free.
And the best part? You’ve just turned a chore into a small act of impact.
Composting isn’t just for hardcore gardeners or eco-warriors. It’s for anyone who wants to waste less, grow more, and make something useful out of stuff that would’ve gone to landfill. And once you start, you’ll wonder why you didn’t do it sooner.
So here’s your next step:
Pick one of the bin options above. Look around your home or garage. Chances are, everything you need is already there. Set a timer for an hour, and just build it.
This time tomorrow, your food scraps could be the beginning of something better — for your garden, your wallet, and the planet.
Frequently Asked Questions (FAQ)
Alex is the creator of Homely Haven, a space dedicated to simple, stylish ideas for interiors and gardens alike. With a passion for cozy living rooms, inviting outdoor spaces, and practical DIY solutions, Alex shares tips and guides that help turn any house into a true home.
From budget-friendly decorating hacks to weekend garden projects, the goal is always the same: to inspire you to create spaces that feel personal, beautiful, and welcoming. When not writing, Alex is usually rearranging furniture, sketching new garden layouts, or exploring design trends for the next project.