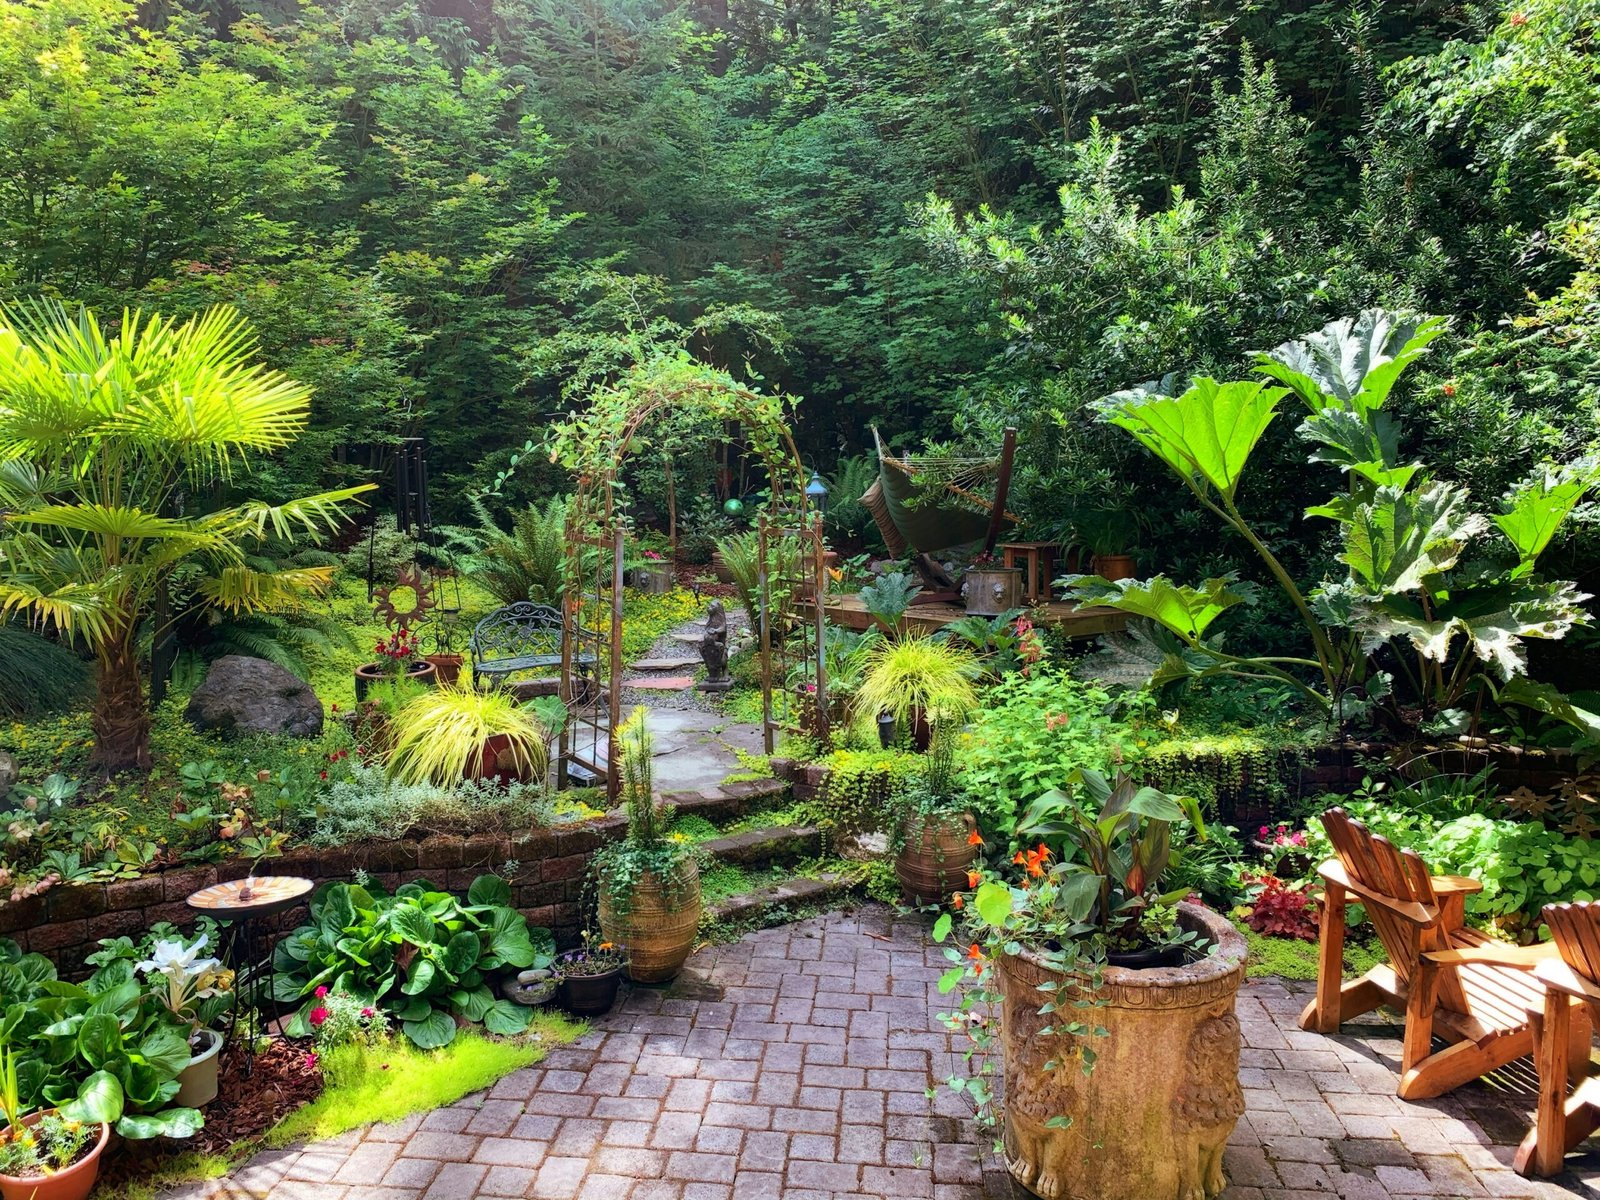
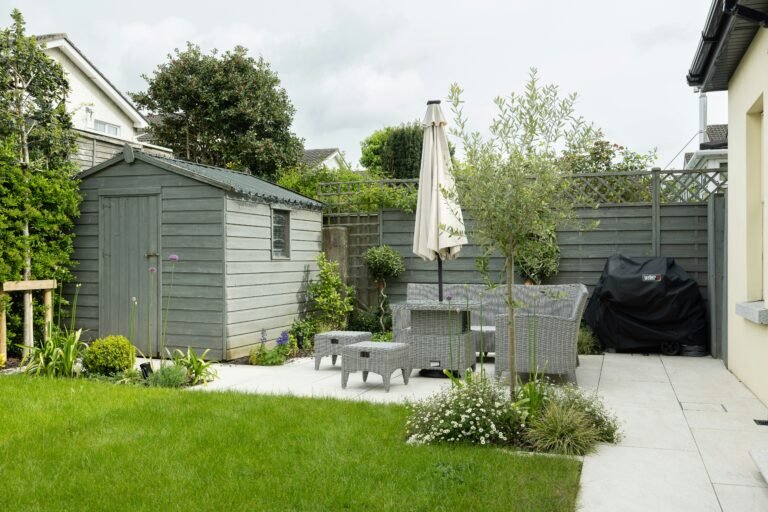
You want a beautiful garden — but you also want it to do more than just look pretty. Maybe you’ve noticed water pooling in your yard after it rains. Maybe you’re trying to cut down your environmental impact. Or maybe you just like the idea of turning a soggy patch of grass into something that actually supports local wildlife.
Still, you’ve got questions. Is a rain garden really worth the effort? Will it actually help the environment? What if I mess it up?
Here’s the good news: rain gardens are simpler to build than you might think — and they’re one of the easiest ways to make your yard more sustainable. You don’t need a massive budget or loads of space. You just need the right guidance and a bit of planning.
In this guide, you’ll learn how to design, build, and maintain a rain garden that not only handles stormwater runoff, but also adds beauty and biodiversity to your space. By the end, you’ll know exactly what to do — and you’ll feel confident doing it.
🌱 What is a Rain Garden?
A rain garden is a shallow, bowl-shaped area in your yard that’s designed to collect and absorb rainwater runoff from hard surfaces like roofs, driveways, and patios. Instead of that water rushing into storm drains (and picking up pollutants along the way), it gets filtered naturally through soil and plants.
Think of it like a sponge that’s also a flower bed. When it rains, the garden temporarily fills with water, then slowly soaks it into the ground over the next day or two — no puddles, no flooding, no mess.
So, what makes it different from a regular garden?
- It’s built in a low spot to catch and hold water.
- It uses specific soil layers to help water filter down quickly.
- It’s planted with native, deep-rooted plants that can handle both wet and dry conditions.
The end result? Less runoff, fewer pollutants entering waterways, and a low-maintenance garden that supports bees, butterflies, and birds.
🌍 Why Build a Rain Garden?
Let’s be honest — you’re not just digging a hole and planting a few flowers. You’re solving a problem and making a difference. Here’s why building a rain garden is one of the smartest things you can do for your yard and the planet.
1. It Reduces Flooding and Runoff
Urban and suburban areas are full of hard surfaces — pavements, roofs, driveways — that don’t absorb water. When it rains, all that water flows quickly into storm drains, often flooding them and carrying pollutants into rivers and lakes. A rain garden catches that runoff before it causes problems.
2. It Filters Pollutants Naturally
As water moves through the layers of soil in a rain garden, things like oil, grease, fertiliser, and other contaminants are broken down by microbes or trapped in the soil. It’s a natural filtration system — no chemicals required.
3. It Supports Local Wildlife
By using native plants, you’re creating a mini ecosystem. Birds, bees, butterflies, and beneficial insects will thrive in your garden, helping to strengthen local biodiversity.
4. It Looks Good
Let’s not forget aesthetics. A well-designed rain garden can be a real showstopper — full of colour, texture, and movement. It turns a trouble spot in your yard into something you’ll actually be proud of.
5. It Saves You Money
Rain gardens don’t need fertiliser, constant watering, or fancy landscaping materials. Once it’s established, it pretty much looks after itself. That’s less time and money spent on upkeep.
🛠️ How to Plan Your Rain Garden
Before you start digging, you need a solid plan. A well-placed, well-designed rain garden works with your landscape, not against it. Here’s how to get started:
1. Choose the Right Location
You want to place your rain garden where it will catch water, not sit in water all the time. Ideal spots include:
- Downhill from a roof downspout
- Near a driveway or patio
- At the bottom of a sloped lawn
Avoid areas where water already pools for long periods — that usually means the soil drains poorly, which is a problem for rain gardens.
2. Check Your Soil
Dig a hole about 30cm deep, fill it with water, and see how long it takes to drain.
- Less than 24 hours? You’re good to go.
- More than 48 hours? You may need to improve drainage or choose another spot.
You can also amend the soil with compost and sand to boost infiltration.
3. Size It Properly
As a rough guide, your rain garden should be about one-tenth the size of the area it’s draining. So, if your roof is 30 square metres, aim for a 3 square metre garden.
Bigger is better — but even small gardens can make a big impact.
4. Shape and Slope
Rain gardens are usually oval or kidney-shaped, with gently sloping sides. The centre should be the lowest point, about 10–20cm deep, to allow water to pool temporarily.
You’ll also want to create a shallow trench or swale to guide runoff into the garden.
🧤 Building Your Rain Garden
Now that you’ve picked your spot and planned the layout, it’s time to get your hands dirty. Don’t worry — this part’s surprisingly straightforward.
1. Mark It Out
Use a garden hose, rope, or spray paint to outline the shape of your rain garden on the ground. Stick with gentle curves — they help with water flow and look more natural.
2. Start Digging
Dig out the area to a depth of about 10–20cm, sloping the sides gently toward the centre. Keep the excavated soil nearby — you’ll use it to build a berm (a small raised mound) around the lower edge to hold water in.
If your soil drains slowly, dig a bit deeper and add layers of sand and compost to improve infiltration.
3. Shape the Berm
Pile the soil on the downhill side of the garden and shape it into a smooth berm. This acts like a dam, keeping the water in place long enough to soak in.
Tamp it down well — you don’t want it washing away in the first big rain.
4. Create an Inlet and Overflow
- Inlet: Direct runoff into the garden using a shallow swale or extend your downspout with a pipe or splash block.
- Overflow: On the opposite side of the inlet, create a low spot in the berm to let excess water safely exit the garden during heavy storms.
5. Level the Base
Make sure the bottom of your rain garden is relatively flat. This helps water spread evenly and soak in rather than pooling in one corner.
🌸 Choosing the Right Plants
Plants are what turn your rain garden from a ditch into a beautiful, thriving ecosystem. But you can’t just throw in anything — the right plants will thrive in both wet and dry conditions, help with water absorption, and attract local wildlife.
1. Go Native
Choose native plants that are adapted to your local climate and soil. They’re hardy, low-maintenance, and great for pollinators like bees and butterflies.
Look for a mix of:
- Deep-rooted grasses (e.g. sedges, rushes)
- Flowering perennials (e.g. coneflowers, black-eyed Susans)
- Shrubs (e.g. dogwood, elderberry)
2. Think in Zones
Rain gardens have natural moisture zones. Plan your planting accordingly:
- Centre (wettest area):
Plants that tolerate standing water for short periods, like iris, marsh marigold, or cardinal flower. - Slopes (moist but not soaked):
Plants like bee balm, ferns, or swamp milkweed. - Edge (drier zone):
Drought-tolerant plants like purple coneflower, yarrow, or native grasses.
3. Plan for Year-Round Interest
Include plants that bloom at different times and offer visual appeal in every season — from spring blossoms to winter seed heads.
4. Avoid Invasives
Skip aggressive or non-native species that can take over. Check with your local council or garden centre for a list of plants to avoid in your region.
🧽 Rain Garden Maintenance
The good news? Once it’s established, a rain garden needs far less upkeep than a lawn or traditional flower bed. But in the early stages — and with each changing season — a little care goes a long way.
1. First Year: Weed and Water
- Weeding: This is crucial while your native plants get established. Pull out weeds by hand every couple of weeks to prevent them from taking over.
- Watering: Give your rain garden a good soak during dry spells, especially in the first 6–12 months while roots are developing.
2. Mulch Matters
Apply a layer of shredded bark or leaf mulch to help retain moisture, suppress weeds, and protect plant roots. Avoid using fine or dyed mulch — it can float away.
Top it up annually, ideally in spring.
3. Cut Back in Late Winter
Leave seed heads and stems through autumn and winter for wildlife. Then cut everything back to the ground in late winter or very early spring before new growth starts.
4. Inspect After Storms
Check for:
- Erosion or shifting mulch
- Clogged inlets or outlets
- Overflow problems
A quick fix after a heavy rain is easier than a full repair later.
5. Replant as Needed
Sometimes a plant just doesn’t thrive. That’s fine — rain gardens evolve over time. Replace struggling plants with something more suited to your conditions.
⚠️ Common Rain Garden Mistakes to Avoid
Even with the best intentions, there are a few missteps that can sabotage your rain garden. Here’s what to watch out for — and what to do instead.
1. Placing It Where Water Already Pools
It might seem logical to put your rain garden in the soggiest part of the yard — but if water already sits there for days, it likely has poor drainage.
✅ Do this instead: Choose a spot where water flows during rain, not where it stagnates.
2. Not Testing Your Soil First
Skipping the drainage test can lead to a garden that doesn’t drain properly.
✅ Fix: Always dig a test hole and check infiltration before you build.
3. Using the Wrong Plants
Choosing high-maintenance or non-native plants can lead to more work and less success.
✅ Fix: Stick to native, deep-rooted species that tolerate both wet and dry conditions.
4. Too Shallow or Too Steep
If your rain garden is too shallow, it won’t hold enough water. Too steep, and the water will run straight out.
✅ Fix: Aim for a gentle slope and a centre depth of 10–20cm.
5. Forgetting About Overflow
A well-built garden still needs a backup plan for heavy storms.
✅ Fix: Build a designated overflow point to channel extra water safely away.
✅ Wrap-Up: Ready to Get Your Hands Dirty?
You don’t need to be a landscape architect to build a rain garden that works. With a bit of planning, the right plants, and a shovel, you can create something that’s not just beautiful — it’s powerful.
You’ll reduce runoff, protect local waterways, attract pollinators, and transform your outdoor space into something that gives back to the planet. And the best part? It’ll keep working for you, year after year, with very little maintenance.
So whether you’re working with a small patch beside your shed or a sloped corner of your lawn, take that first step. Sketch out your plan, test your soil, and start building your rain garden. The environment (and your garden) will thank you for it.
Alex is the creator of Homely Haven, a space dedicated to simple, stylish ideas for interiors and gardens alike. With a passion for cozy living rooms, inviting outdoor spaces, and practical DIY solutions, Alex shares tips and guides that help turn any house into a true home.
From budget-friendly decorating hacks to weekend garden projects, the goal is always the same: to inspire you to create spaces that feel personal, beautiful, and welcoming. When not writing, Alex is usually rearranging furniture, sketching new garden layouts, or exploring design trends for the next project.


