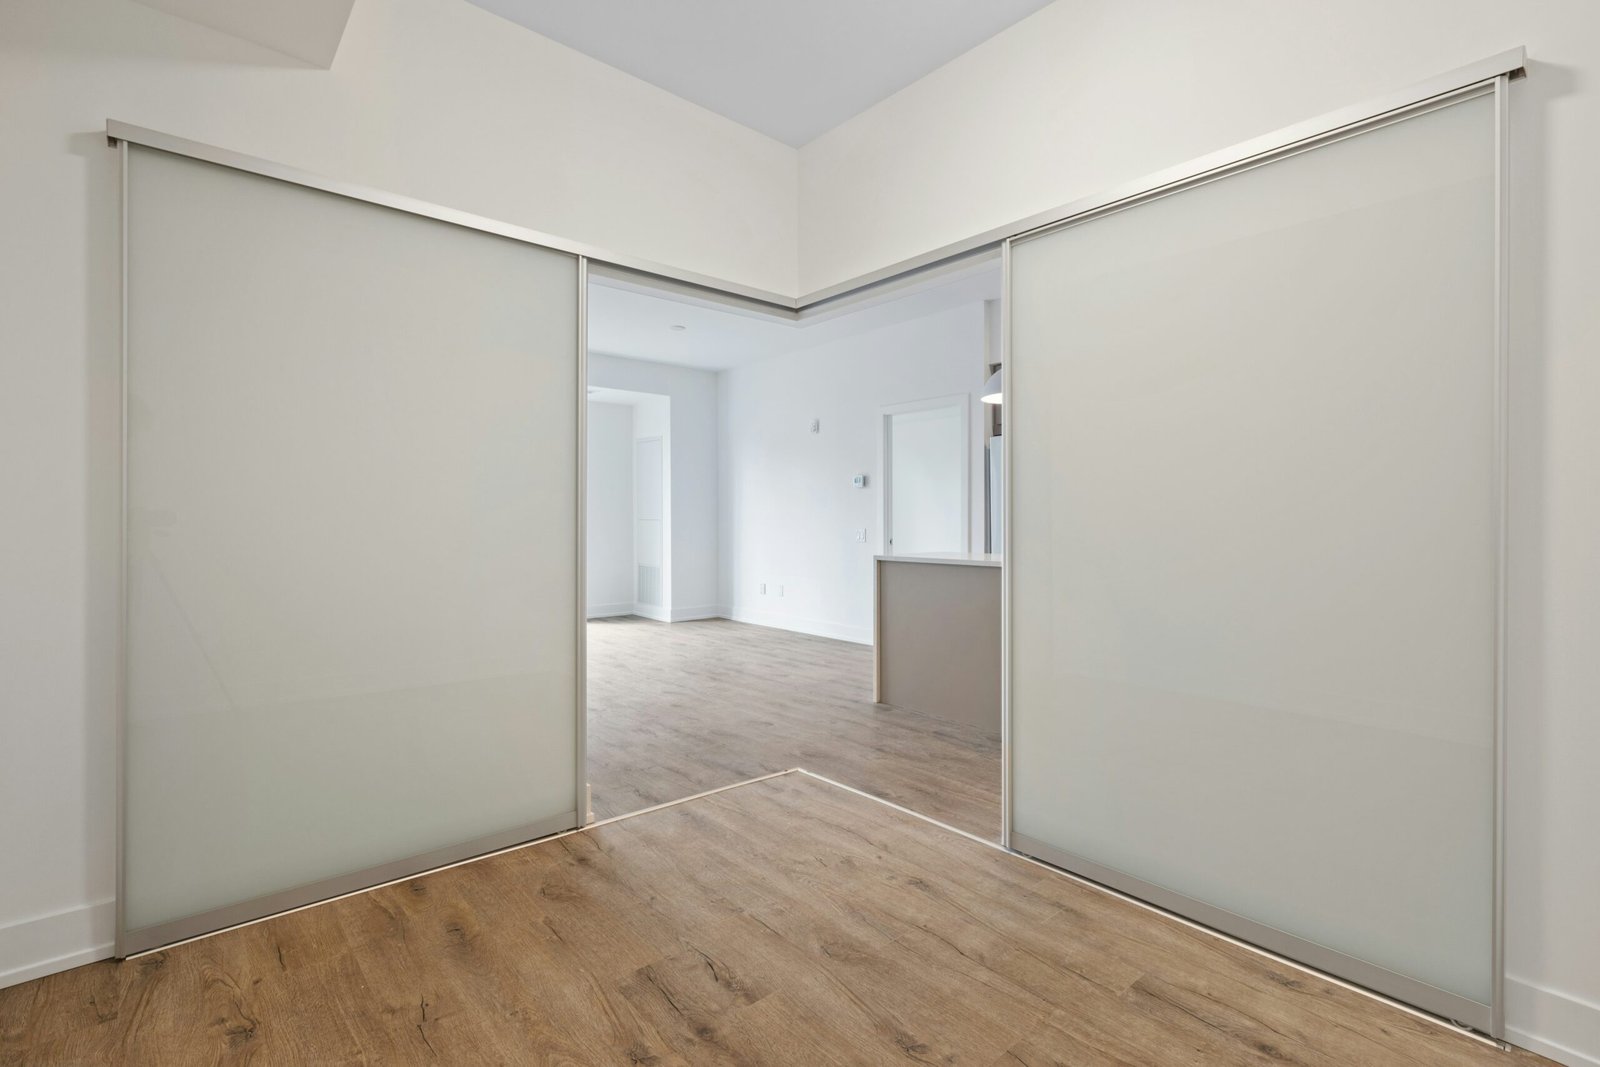
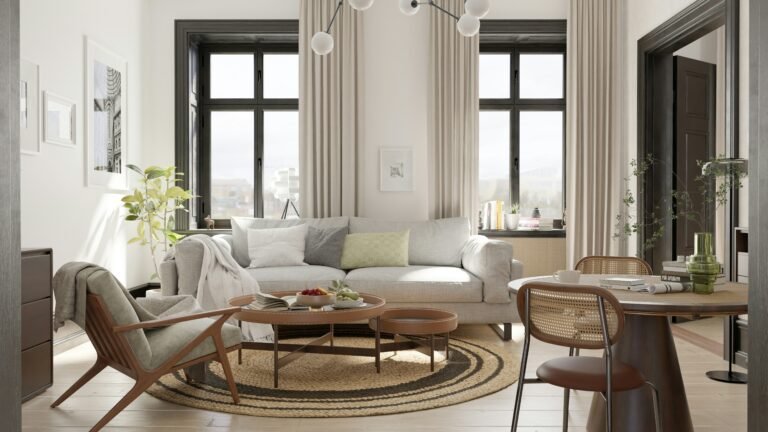
You love the open, airy feel of your space — but sometimes it feels a little too open, right? Maybe you’re trying to carve out a home office, a cosy reading nook, or just a little more privacy without putting up permanent walls. And if you’ve ever found yourself lost in a Pinterest spiral of divider ideas, wondering which ones you could actually pull off, you’re not alone.
Here’s the good news: creating a stylish, custom room divider doesn’t have to be complicated, expensive, or involve a construction crew. You can absolutely build something that fits your style, skill level, and space — even if you’re renting or have barely swung a hammer.
In this guide, you’ll find simple, beautiful room divider ideas you can actually make yourself — from easy fabric solutions to sleek wood builds that look high-end (but aren’t hard to pull off). Get ready to transform your open space into a more functional, stylish home — without the stress.
Why Room Dividers Are the Secret Weapon for Open Spaces
Open spaces are brilliant — they make your home feel bigger, brighter, and more flexible. But without some kind of definition, they can also feel messy, chaotic, or just a bit awkward. That’s where room dividers come in.
A well-placed divider gives you the best of both worlds. You keep the light and flow of an open plan, but add structure, purpose, and a bit of privacy where you need it most. It’s like giving your home invisible walls that you can move, customise, and style however you want.
The best part? You don’t need a renovation budget or a team of builders. Whether it’s a curtain, a bookshelf, or a hand-built partition, the right room divider can transform your space — and make it look intentional, not improvised.
4+ Stylish DIY Room Divider Ideas
There’s no one-size-fits-all when it comes to dividing up your space — and that’s a good thing. Whether you want something simple and flexible or a statement piece, here are stylish ideas you can actually build yourself:
1. Curtain Track or Tension Rod + Fabric
If you’re looking for something super simple (and renter-friendly), this is it.
Mount a ceiling track or a sturdy tension rod, then hang fabric panels to instantly separate your space. Think lightweight linens for an airy feel, or heavier curtains if you want more privacy or sound dampening.
Why you’ll love it:
- Minimal tools needed
- Easy to swap out fabrics to change the look
- Perfect for flexible spaces that need to open up or close off
2. Freestanding Bookcase or Shelf Wall
Turn a regular bookcase into a smart divider.
Place a tall, open-backed shelf between zones — it separates areas while keeping light flowing through. Bonus: it doubles as extra storage or display space.
Why you’ll love it:
3. Folding Screen (Wood Frame + Hinges)
Want something a bit more hands-on?
Build a simple wood frame, stretch fabric or wood slats across it, and connect panels with hinges. A folding screen is classic, stylish, and can be tucked away when you don’t need it.
Why you’ll love it:
- Customise the size, colour, and material
- Adds a sculptural element to the room
- Folds away easily for flexible living
4. Slatted Wood Partition
If you’re ready for a slightly more advanced build, a slatted wood divider looks sleek and modern.
It’s basically vertical wooden slats attached to a frame — letting light and air through while creating strong visual separation.
Why you’ll love it:
- Professional, high-end look
- Still fairly simple if you can measure, cut, and drill
- Great for defining spaces without blocking light
BONUS: Upcycled Doors or Window Frames
Love a vintage vibe?
Old doors or window frames can be repurposed into striking dividers. Hinge a few together for a folding wall, or mount a single piece on a stand.
Why you’ll love it:
- One-of-a-kind look
- Eco-friendly (and budget-friendly if you find salvaged pieces)
- Adds tons of character to your space
Materials + Tools You Might Need
The materials and tools you’ll need depend on which style of room divider you choose — but don’t worry, nothing here is wildly expensive or requires a professional workshop. Here’s a quick guide:
For Curtain Dividers:
Materials:
- Curtain track, rail, or tension rod
- Curtains or fabric panels
- Mounting hardware (if needed)
Tools:
- Drill (if mounting hardware)
- Screwdriver
- Measuring tape
- Step ladder
For Freestanding Bookcases or Shelving Walls:
Materials:
- Tall, open bookcase or shelving unit
- Optional: Anchors or wall straps (for stability)
Tools:
- Assembly tools (usually just a screwdriver or Allen key)
- Level (to make sure it’s straight)
For Folding Screens (Wood Frame + Hinges):
Materials:
- Wooden boards or frames
- Fabric, cane webbing, slats, or panel inserts
- Hinges and screws
- Paint or stain (optional)
Tools:
- Drill
- Screwdriver
- Staple gun (if using fabric)
- Saw (for cutting wood to size)
- Measuring tape
- Sander or sandpaper (if finishing the wood)
For Slatted Wood Partitions:
Materials:
- Wooden slats (pine, oak, or any timber you like)
- Base frame
- Screws or nails
- Wood glue (optional)
- Paint or stain (optional)
Tools:
- Saw (hand saw or circular saw)
- Drill or nail gun
- Measuring tape
- Sander or sandpaper
- Level
For Upcycled Doors or Window Frames:
Materials:
- Vintage doors or window frames
- Hinges or brackets
- Stand or base (if freestanding)
Tools:
- Drill
- Screwdriver
- Sandpaper (for smoothing rough edges)
- Paint or wood sealer (optional)
Tips for Making It Look Professional
Anyone can throw up a divider — but making it look polished is what takes it from “DIY” to “designer.” Here are some simple tips to make sure your custom divider looks intentional, stylish, and sturdy:
1. Prioritise Proportions
Make sure your divider matches the scale of your space.
If it’s too small, it’ll look out of place. If it’s too bulky, it might make your room feel cramped. Measure carefully and plan the width and height to fit the area you’re dividing.
2. Finish Your Edges
Raw wood? Sand it smooth. Fabric panels? Hem or tape the edges.
Little details like clean edges, even seams, and smoothed surfaces instantly make your project feel professional — even if it’s simple.
3. Stick to a Cohesive Colour Palette
Try to match or complement your existing decor.
A divider that ties into your room’s colour scheme will feel built-in, not tacked-on. Neutral colours, warm wood tones, or a pop of colour that echoes elsewhere in the room are safe bets.
4. Add Stability
Even freestanding dividers need to be safe.
Use wide bases, heavy materials, or discreet wall anchors if needed (especially if you have kids or pets around). Wobbly dividers not only look cheap — they can be a hazard.
5. Think About Both Sides
Remember, a room divider is visible from both sides.
Make sure it looks good front and back — even if it’s as simple as painting or finishing the rear panels neatly.
Final Thoughts
Open spaces give you so much freedom — but they also demand a little creativity when it comes to layout and flow. A custom room divider is one of the smartest, most stylish ways to shape your space without locking yourself into a full renovation.
Whether you go for a simple curtain, a sleek bookshelf, a handcrafted screen, or a slatted wood masterpiece, the most important thing is that it works for you. Your style, your space, your needs.
Start small if you need to. Pick the idea that feels exciting (not overwhelming), gather your materials, and give it a go. You’ll be amazed at how much a simple divider can transform your home — and how satisfying it feels to say, “Yep, I made that.”
Alex is the creator of Homely Haven, a space dedicated to simple, stylish ideas for interiors and gardens alike. With a passion for cozy living rooms, inviting outdoor spaces, and practical DIY solutions, Alex shares tips and guides that help turn any house into a true home.
From budget-friendly decorating hacks to weekend garden projects, the goal is always the same: to inspire you to create spaces that feel personal, beautiful, and welcoming. When not writing, Alex is usually rearranging furniture, sketching new garden layouts, or exploring design trends for the next project.


