You’ve been staring at that blank wall for weeks.
You’ve pinned a dozen abstract art ideas. Scrolled past all those swoon-worthy rooms on Instagram. Maybe even added a few prints to your online cart—only to abandon it when the total shot past your budget.
You want your space to feel like you. Not mass-produced. Not beige-and-boring. But you’re also not trying to become the next Picasso—you just want to create something that makes a statement and feels intentional.
Here’s the good news: you don’t need to be “artsy” to make abstract wall art that looks seriously good. You just need the right idea, a few affordable materials, and the confidence to start.
In this guide, you’ll learn exactly how to create your own DIY abstract wall art—something that looks like it could hang in a trendy gallery, but cost you less than a takeaway. Whether you’ve got a blank canvas or an old one you want to paint over, you’re about to turn that empty wall into something worth showing off.
Why Abstract Art Is Perfect for DIY
Here’s the truth: abstract art is basically the best-kept secret of the DIY decor world.
Why? Because there are no rules. You don’t need to draw a straight line or paint a realistic flower. You don’t even need to know what you’re going to create before you start. That freedom is what makes abstract art so powerful—and so doable.
It’s not about being perfect. It’s about playing with colour, texture, and shape to create something that feels right to you. Even better, abstract pieces often look more elevated when they’re imperfect—like you picked them up from some indie gallery downtown.
And if you mess up? You can paint over it and start again. That’s the beauty of it.
Plus, abstract art has range. Want something moody and minimal? You can do that. Prefer something bold and bright? That works too. It’s incredibly flexible, which means it can match any room or style—from calm neutrals to playful colour pops.
So if you’ve ever thought, “I’m not creative enough for this,” know this: abstract art is where everyone gets to be creative. No pressure. Just expression.
Supplies You’ll Need
You don’t need a trolley full of fancy art gear to make something that looks amazing. In fact, most of what you need can be found at a local craft shop, online, or maybe even around your house.
Here’s your simple shopping list:
1. Canvas or Surface
- Pre-stretched canvas – These come ready to go and are easy to hang once finished.
- Wood panels – Great for a more polished look.
- Thrifted art – Find an old framed print or painting and paint over it for a budget-friendly twist.
2. Paint
- Acrylic paint – Dries fast, easy to layer, and comes in loads of colours. Ideal for beginners.
- Sample pots of wall paint – A clever, cost-saving hack—especially if you’re trying to match your decor.
3. Tools
- Brushes – A mix of sizes is handy, but even one medium-sized brush will do.
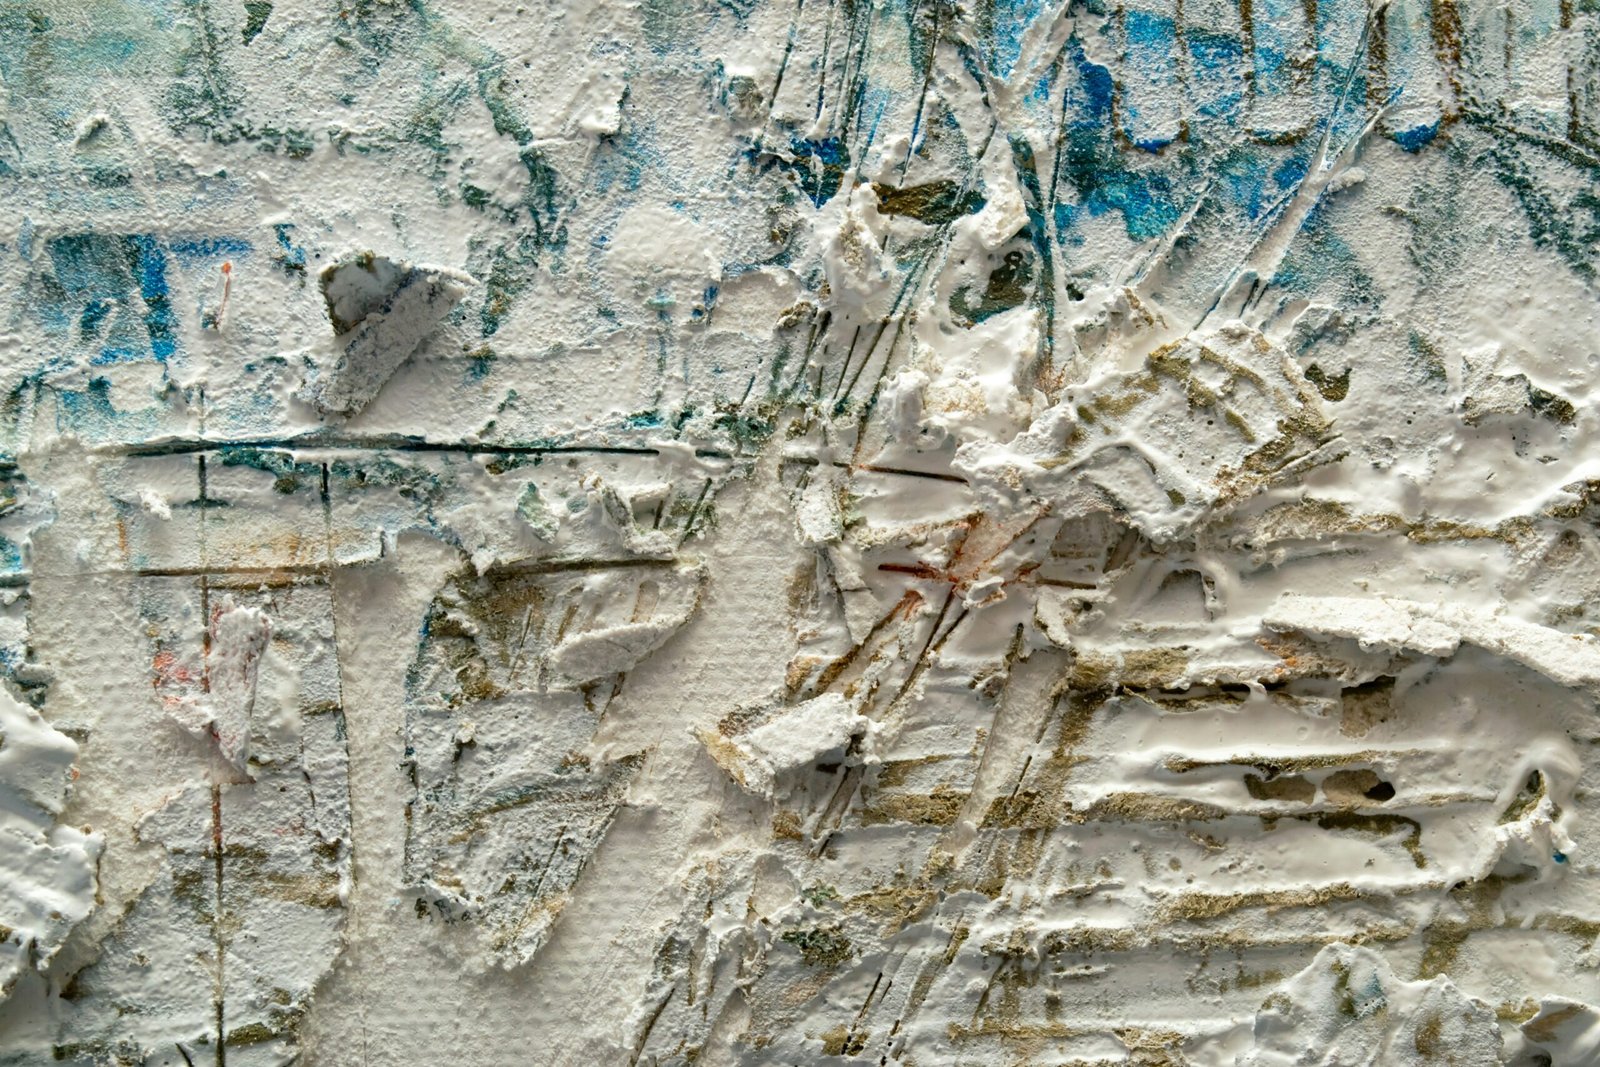
- Palette knife or old credit card – For spreading paint, creating texture, and getting that abstract edge.
- Painter’s tape – Optional, but useful for blocking off clean lines or creating structured shapes.
4. Extras (Optional but Fun)
- Sponges, cloths, or rags – For dabbing, wiping, or adding texture.
- Pencil or chalk – To sketch out rough ideas beforehand.
- Gold leaf or metallic paint – For that extra luxe look.
That’s it. No need for oil paints, fancy easels, or a studio space. Just a flat surface, your chosen tools, and a bit of curiosity.
Step-by-Step: Creating Your Piece
This is where things come to life. Remember, you’re not aiming for perfection—you’re aiming for personality. Here’s a simple process to guide you:
Step 1: Set up your space
Lay down some newspaper or an old sheet. Get your paints, tools, and water ready. Pop on some music if that helps get you in the zone.
Step 2: Choose your colour palette
Stick to 2–4 colours to keep it cohesive. You can always add more later, but starting small helps avoid chaos. Think about the room this will hang in—do you want it to blend in or stand out?
Pro tip: If you’re nervous, go neutral with one bold accent colour.
Step 3: Create your base layer
Use a large brush or sponge to roughly cover the canvas in your background colour. This doesn’t have to be neat. In fact, a patchy or textured base can add depth.
Let it dry for a few minutes—acrylics dry quickly, so you won’t be waiting long.
Step 4: Add your shapes, strokes, and layers
This is where the abstract magic happens.
Try:
- Broad strokes with a flat brush
- Palette knife smears for bold texture
- Soft dabs using a sponge or cloth
- Scraping through wet paint with the edge of a card
Don’t overthink it. Trust your eye and your gut. If something feels too harsh or off, blend it out or paint over it.
Step 5: Step back and assess
Every now and then, walk away. Literally. Take a few steps back and look at your piece from a distance. This helps you spot balance (or imbalance) and decide what needs more (or less).
Step 6: Add final touches
Once your main layers are dry, you can:
- Add metallic accents
- Use painter’s tape to add crisp lines or blocks of colour
- Splatter a little paint for a dynamic edge (use a toothbrush for tiny splatters)
Step 7: Seal it (optional)
If you want a more polished finish or to protect your work, spray or brush on a clear acrylic sealer once everything is fully dry.
That’s it. No sketching. No measuring. Just layers, texture, and your own vibe on a canvas.
Tips for Choosing Colours & Styles
This part can feel overwhelming, but it doesn’t have to be. Here’s how to make colour and style choices that actually work in your space, without overthinking it.
1. Use your space as your starting point
Look around the room where your art will hang. What colours are already there? You don’t need to match everything perfectly, but echoing tones from your rug, cushions, or furniture will make your piece feel cohesive.
Example:
Got a neutral-toned lounge with a burnt orange cushion? A soft beige background with hints of rust, cream, and black could tie everything together.
2. Decide on the mood you want to create
Abstract art doesn’t just fill a space—it sets a tone.
- Calm + minimal? Stick with muted tones like taupe, greys, off-whites, sage, or soft blues.
- Bold + expressive? Go for contrast: navy and blush, mustard and teal, black and white.
- Warm and cosy? Think terracotta, burgundy, ochre, or dusty pinks.
3. Limit your palette (but not your style)
Two to four colours is a solid sweet spot. This keeps things looking considered—not chaotic. Use different shades or tones of the same colour to add depth.
Also, don’t feel boxed in by one style. You can mix:
- Loose brushwork with geometric shapes
- Layered texture with negative space
- Soft blends with sharp lines
It’s abstract—play with contrast.
4. Test before you commit
Dab a few colours onto a spare bit of paper or the corner of your canvas. See how they dry. Some look wildly different once they’re no longer wet.
5. Don’t copy—be inspired
It’s fine to use Pinterest or Instagram for ideas, but don’t stress about recreating something exactly. Pull elements you like (the colour scheme from one, the texture from another) and make it your own.
With these tips, you’ll end up with something that fits your space and your personality—which is exactly the point.
Finishing Touches: Framing & Hanging
You’ve got your masterpiece. Now let’s make sure it looks intentional—not like it’s “just something you made one weekend.”
Here’s how to finish strong:
1. To frame or not to frame?
Framing instantly elevates your work, but it’s not a must.
Go frameless if:
- You used a stretched canvas with painted edges.
- You like a modern, minimal look.
Consider framing if:
- You painted on paper or board.
- You want to match other framed pieces in the room.
- You’re going for that clean, “designer” finish.
Budget-friendly framing tips:
- IKEA, Kmart, and Wilko have solid affordable frame options.
- Check charity shops for second-hand frames—just paint them if needed.
- Try a floating frame for canvas if you want that high-end feel.
2. Placement matters
Abstract art can hang just about anywhere—but here’s how to make it work in your space:
- Eye level is your friend: Aim to hang it so the centre of the piece is around 145–150cm from the floor.
- Over furniture? Keep the bottom edge 15–20cm above the item it’s above (like a sofa or console).
- Big wall, small art? Group with other pieces or add a second canvas to create a diptych.
3. Hanging tips
- Use adhesive strips (like Command hooks) if you’re renting or want damage-free walls.
- Picture hooks or wall plugs for heavier pieces.
- Want to avoid hanging altogether? Lean it against the wall on a shelf or sideboard—it still counts.
Once it’s up, step back and enjoy the fact that you’ve just created something one-of-a-kind—for a fraction of the cost of a gallery print.
Final Thoughts
You don’t need to be an artist to make art that means something.
DIY abstract wall art isn’t about flawless technique or impressing anyone else—it’s about making your space feel more like you. It’s budget-friendly, custom, and completely within your reach—even if you’ve never picked up a paintbrush in your life.
So stop waiting for the “perfect” piece to pop up online or the next sale to hit. You’ve got everything you need to create something bold, beautiful, and totally original.
Worst case? You paint over it and start again.
Best case? You hang it up, look at it every day, and think—I made that.
Now grab your paints and go make your walls less boring.
Alex is the creator of Homely Haven, a space dedicated to simple, stylish ideas for interiors and gardens alike. With a passion for cozy living rooms, inviting outdoor spaces, and practical DIY solutions, Alex shares tips and guides that help turn any house into a true home.
From budget-friendly decorating hacks to weekend garden projects, the goal is always the same: to inspire you to create spaces that feel personal, beautiful, and welcoming. When not writing, Alex is usually rearranging furniture, sketching new garden layouts, or exploring design trends for the next project.


