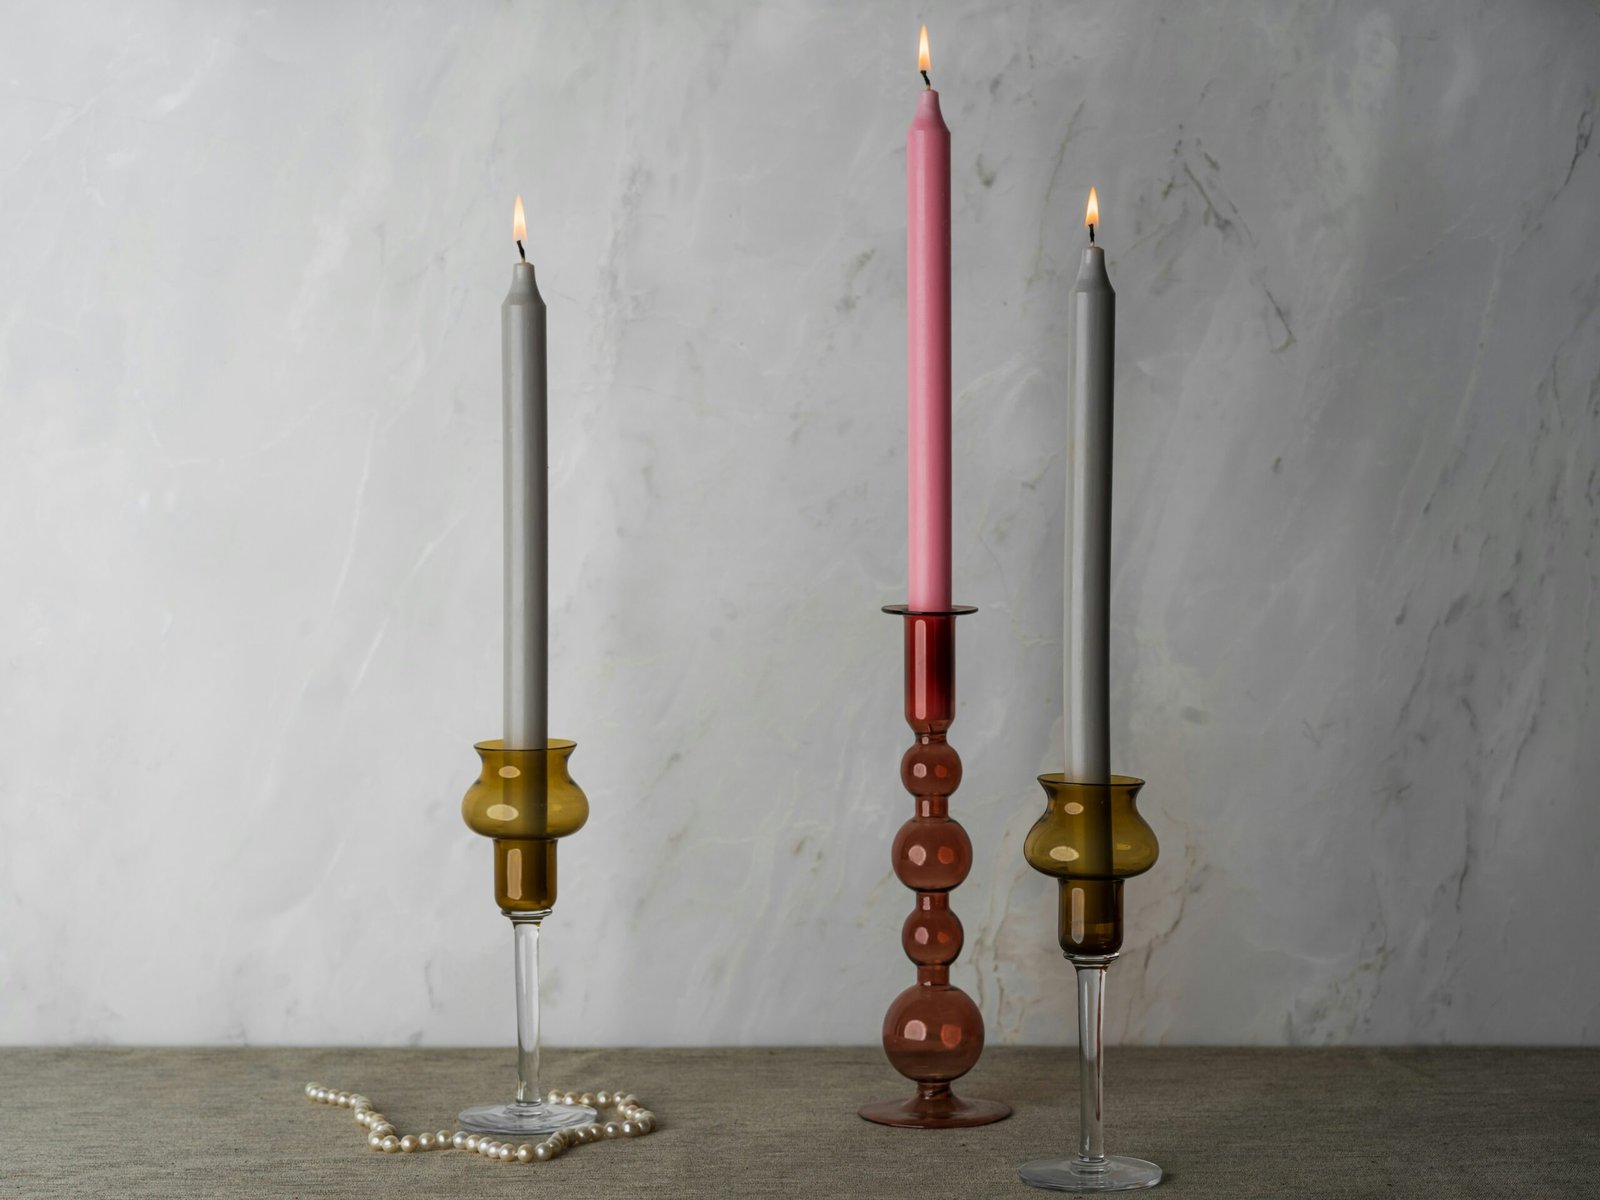
You love the idea of creating something beautiful with your hands — especially when it doesn’t cost a fortune or require a shed full of tools. But let’s be honest: DIY projects can get overwhelming fast. You’ve probably seen those dreamy, earthy candle holders on Pinterest and thought, “Could I actually make that… and have it look good?”
Here’s the good news: you absolutely can.
I’ve put together a handful of candle holder ideas that use natural materials — twigs, pinecones, leaves, driftwood — to create simple, stunning pieces. These are perfect for centrepieces, cosy corners, or thoughtful handmade gifts. No need to be “crafty.” If you can use glue and wrap some twine, you’re already set.
What you’ll get in this post: a few creative ideas that bring nature indoors, plus step-by-step guidance to help you pull them off with style. Think rustic charm, seasonal warmth, and the kind of homemade touch that makes people say, “You made that?!”
Ready? Let’s turn a walk in the woods into something beautiful.
Why Nature-Inspired Works So Well
There’s something about natural materials that just feels… right. Whether it’s the warm texture of bark, the soft glow of candlelight through frosted pinecones, or the delicate imprint of a dried leaf — nature brings a quiet elegance that store-bought décor often misses.
But it’s not just about the look. Nature-inspired candle holders feel personal. They’re made with things you’ve gathered yourself — from a walk in the woods, a day at the beach, or even your own garden. That alone adds meaning, whether you’re placing them on your table or giving them as a gift.
Plus, these materials are everywhere. Twigs, leaves, pinecones, stones — most of them cost nothing. That means you can create beautiful, seasonal décor or gifts without spending much at all. And because each piece of nature is different, every candle holder you make will be completely unique.
In short: it’s affordable, meaningful, and stylish. That’s why nature-inspired works so well — especially when you want something that feels both thoughtful and handmade.
Project #1: Rustic Twig and Twine Holder
Vibe: Farmhouse charm meets forest walk.
Perfect for: Autumn tables, rustic weddings, or cosy mantle décor.
What You’ll Need:
- A clean, empty glass jar (mason jar or small vase)
- A bunch of straight twigs (roughly the same length as your jar)
- Twine, jute string, or raffia
- Hot glue gun or strong craft glue
- Pruners or scissors (for trimming twigs)
How to Make It:
- Prep Your Twigs
Head outside and gather twigs — you want ones that are fairly straight and dry. Trim them so they’re just a touch taller than your jar. - Attach the Twigs
One by one, glue each twig vertically to the outside of the jar. Pack them in close for that snug, rustic look. It doesn’t have to be perfect — a little unevenness adds to the charm. - Add the Twine
Once the glue’s dry, wrap twine or jute string around the jar near the top or middle. Tie it in a knot or bow — whatever suits your style. - Pop in a Candle
Drop in a tea light or small pillar candle. Light it up and watch as the glow flickers between the twigs.
Optional Touches:
- Add a small tag for gifting.
- Tuck in a sprig of rosemary or lavender under the twine.
- For a winter twist, brush a bit of white paint or fake snow on the twig tips.
Project #2: Frosted Pinecone Votives
Vibe: Winter woodland magic.
Perfect for: Holiday gifting, festive centrepieces, or cosy nights in.
What You’ll Need:
- Pinecones (medium to large, opened)
- Small glass tea light holders (or votive holders)
- White acrylic paint or fake snow spray
- Craft glue or a hot glue gun
- Optional: fine glitter, faux berries, ribbon
How to Make It:
- Frost the Pinecones
Lightly dab the edges of each pinecone scale with white paint or snow spray to create a frosted effect. Want a bit of sparkle? While the paint is still wet, sprinkle on some glitter. - Attach to the Holder
Once the pinecones are dry, glue them around the base of your glass votive holder. You can do a full circle, a crescent cluster, or even just one large pinecone on the side — whatever looks best to you. - Add a Candle
Drop a tea light into the holder. When lit, the light reflects beautifully off the frosted pinecones, giving off a cosy, wintry glow.
Optional Touches:
- Wrap a bit of ribbon or twine around the holder for an extra festive feel.
- Nestle the whole thing into a small wreath or bed of evergreen branches for a larger centrepiece.
Project #3: Pressed Leaf Jar Lanterns
Vibe: Warm, glowy, and perfect for autumn.
Perfect for: Thanksgiving tables, autumn weddings, or just giving your space a seasonal glow-up.
What You’ll Need:
- A clean, empty glass jar (mason jars work best)
- Pressed leaves (real or faux — real ones give a better finish)
- Mod Podge or clear-drying craft glue
- A sponge brush or paintbrush
- Tea light or LED candle
How to Make It:
- Press Your Leaves
If you’re using real leaves, press them flat between heavy books for a few days beforehand. Brightly coloured leaves work best — think red, orange, and golden yellow. - Glue the Leaves to the Jar
Use the sponge brush to apply a thin layer of Mod Podge on the back of a leaf, then press it gently onto the outside of the jar. Smooth it out carefully so it sticks well. Continue with more leaves, overlapping them slightly. - Seal Them In
Once the leaves are on, gently brush a layer of Mod Podge over the top to seal everything. Don’t worry — it dries clear. - Light It Up
Once dry, pop a candle inside and watch as the leaf shapes glow in the soft candlelight.
Optional Touches:
- Tie twine or ribbon around the jar neck.
- Mix in fern leaves or flower petals for variety.
- Use different jar shapes for a mismatched, artsy look.
Project #4: Coastal Driftwood Candle Tray
Vibe: Laid-back, beachy elegance.
Perfect for: Summer tables, beach weddings, or breezy home décor.
What You’ll Need:
- A piece of flat driftwood (long enough to hold 3–5 candles)
- Tea lights or small pillar candles
- Drill with a spade bit (optional, for inset holders)
- Sandpaper (optional)
- Optional extras: shells, pebbles, sea glass, twine
How to Make It:
- Find the Right Piece
Look for a smooth, flat piece of driftwood. It doesn’t have to be perfectly even — a bit of character adds charm. Rinse it off and let it dry fully. - (Optional) Drill Candle Holes
If you’re handy, use a spade bit to drill shallow holes for your tea lights to nestle into. Not comfortable with power tools? No worries — just arrange the candles on top. - Sand if Needed
If the wood’s rough or splintery, give it a quick sand. You can leave the natural weathered look or stain it if you prefer a richer tone. - Decorate and Arrange
Place your candles, then decorate around them with beachy finds like small shells, stones, or sea glass. Keep it minimal — you want the wood to shine. - Display It
This makes a gorgeous centrepiece for an outdoor dinner, or a year-round nod to the sea inside your home.
Optional Touches:
- Wrap twine around the ends of the wood for a nautical finish.
- Use LED candles for outdoor use (no wax mess or wind worries).
- Add a subtle scent with scented tea lights (think coconut, sea breeze, or eucalyptus).
Bonus Tips: Safety, Seasonality & Gifting Ideas
🔥 Candle Safety First
- Always use glass containers between your candle and any natural materials — don’t glue pinecones or leaves directly onto something that’ll get hot.
- Opt for LED candles if you want a worry-free glow (especially for kids or pets around).
- Never leave a lit candle unattended (you knew that — but still worth the reminder).
🍂 Seasonal Switch-Ups
- Autumn: Pressed leaves, acorns, warm-toned twine.
- Winter: Pinecones, berries, frosted finishes.
- Spring: Flowers, ferns, light wood tones.
- Summer: Driftwood, shells, coastal colours.
Swap out small details — ribbons, accents, scents — to make your candle holders fit any time of year.
🎁 Gifting Ideas
Nature-inspired candle holders make heartfelt, handmade gifts. Here’s how to make them feel extra special:
- Wrap them in brown kraft paper tied with twine and a fresh sprig.
- Pair with a pack of tea lights or a small bottle of essential oil.
- Add a handwritten tag explaining what it’s made from — it adds meaning and charm.
Wrap Up: Bring a Little Nature In
You don’t need fancy supplies or a workshop to make something beautiful. Just a jar, a few twigs or pinecones, and a bit of glue — and suddenly, you’ve got a centrepiece that turns heads or a gift that genuinely means something.
So next time you’re out for a walk, keep an eye out. That bit of driftwood, that perfect leaf — they might just be the start of your next favourite project.
Now go on — light a candle, get a little gluey, and bring some of the outdoors in. 🌿
Alex is the creator of Homely Haven, a space dedicated to simple, stylish ideas for interiors and gardens alike. With a passion for cozy living rooms, inviting outdoor spaces, and practical DIY solutions, Alex shares tips and guides that help turn any house into a true home.
From budget-friendly decorating hacks to weekend garden projects, the goal is always the same: to inspire you to create spaces that feel personal, beautiful, and welcoming. When not writing, Alex is usually rearranging furniture, sketching new garden layouts, or exploring design trends for the next project.


