You bought that IKEA shelf because it was cheap, simple, and did the job. But now? It’s kind of… there. It’s not ugly, but it’s not exactly saying anything either. You scroll past stunning DIY transformations on Instagram, thinking, “Could I actually pull something like that off?”
You don’t have a woodshop in your garage. You’re not a carpenter. But you do have an eye for style and a craving to make your space feel more “you.” You’re just waiting for the right idea — something that doesn’t cost a fortune or require a full toolkit.
Here’s the good news: that plain IKEA shelf in your living room, bedroom, or hallway is about to become your next best DIY win.
In this blog, you’ll get creative, doable shelf hacks — some stylish, some clever, all customisable — for turning your IKEA furniture into something completely unique. Whether you’ve got a KALLAX, a BILLY, a LACK, or something in between, you’ll find ideas you haven’t tried (or even seen) yet.
Ready to turn bland into brilliant? Let’s get into it.
The Case for Hacking Your IKEA Shelf
Here’s the thing: IKEA shelves are basically blank canvases. They’re simple, affordable, and easy to find — which is great. But it also means your living room, bedroom, or home office might look suspiciously like everyone else’s. That’s where the magic of hacking comes in.
When you customise a basic piece like a LACK or a BILLY, you’re not just upgrading your shelf — you’re upgrading your space. A clever tweak can make it feel high-end, intentional, and uniquely yours. Even better? You don’t need to be a master craftsperson to pull it off.
Hacking your IKEA shelf means:
- Saving money – no need to replace it with something “nicer” when you can just rework what you’ve got.
- Using what’s already there – reduce waste and get more value out of your furniture.
- Adding personality – your home should reflect you, not a showroom catalogue.
- Making it work better – smarter storage, more function, and even style that fits your vibe.
And unlike buying a trendy designer piece, a DIY hack lets you actually have fun in the process. It’s a creative outlet that gives you something both useful and beautiful at the end.
Now that you’re sold on the why, let’s get into the fun part — the hacks themselves.
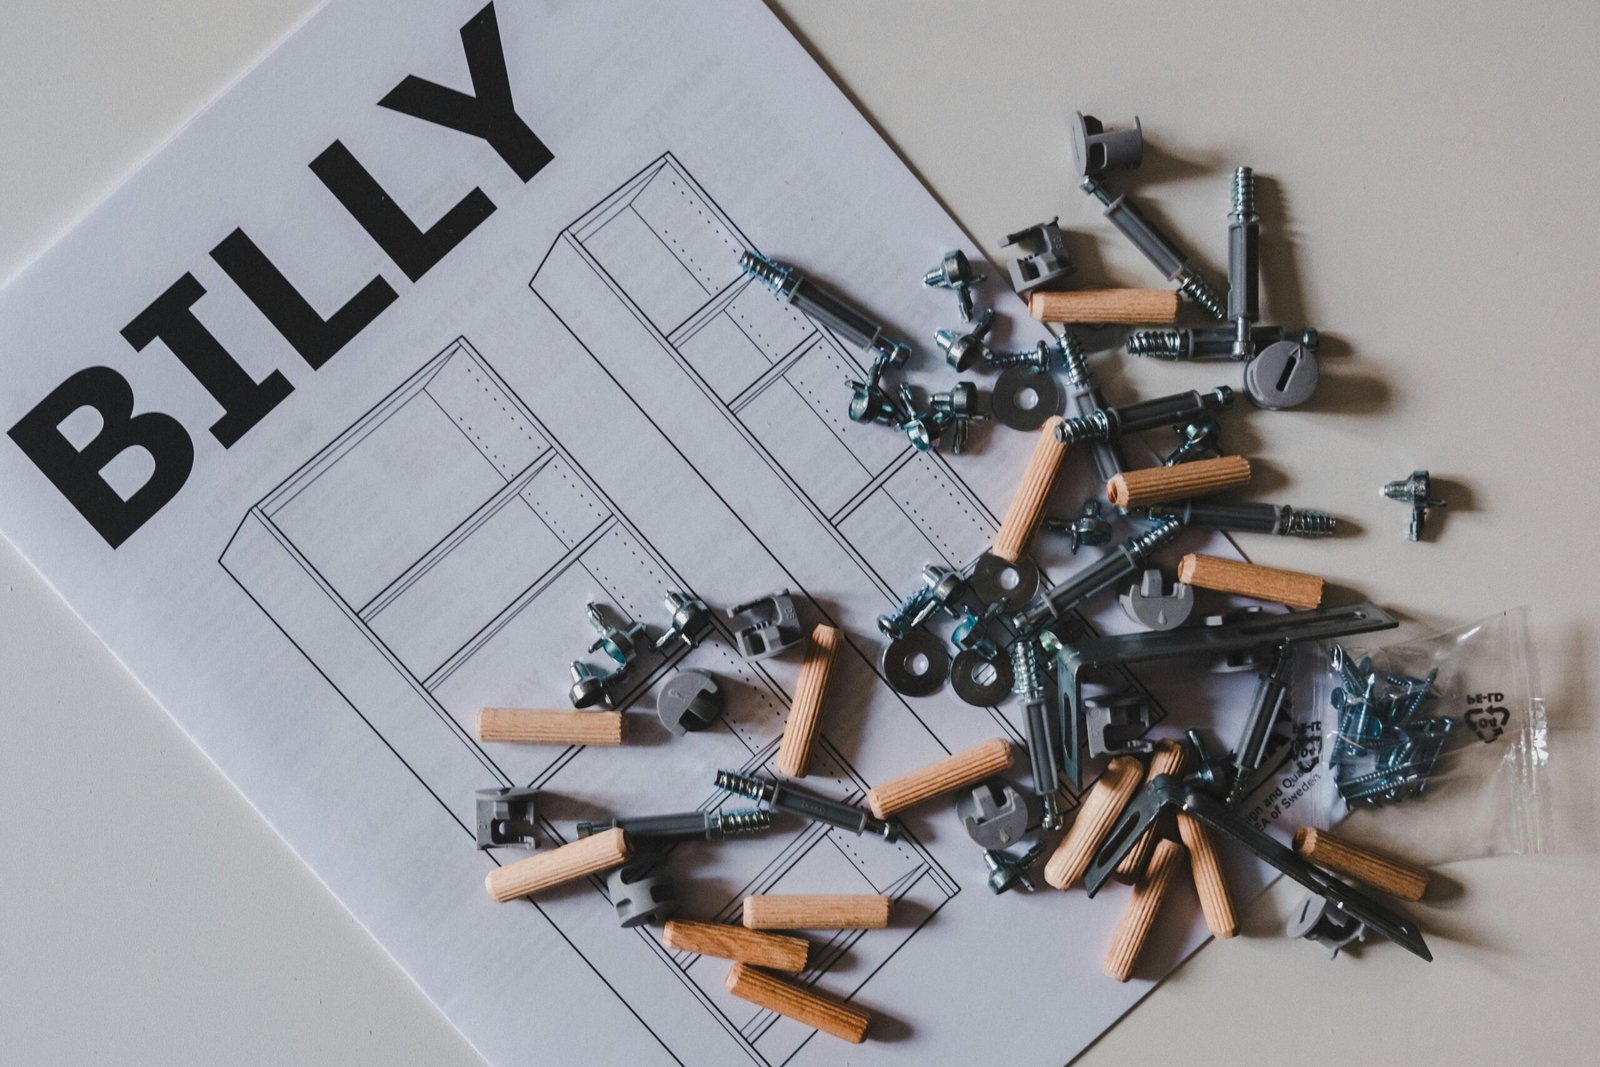
BILLY Bookcase Hacks – From Standard to Stunning
The BILLY is a crowd favourite for a reason: it’s simple, sturdy, and fits into almost any room. But on its own? It’s not exactly exciting. Here’s how to take it from basic to built-in brilliance:
🛠 1. Fake a Built-In Look
Paint your BILLY the same colour as your wall, add moulding to the top and sides, and boom — it looks like custom carpentry. Mount a few side-by-side for that full “library wall” effect.
Quick Tip: Use caulk between bookcase edges and the wall for a seamless finish.
🖼 2. Add Glass Doors and Interior Lighting
Want it to look designer? Swap in glass doors (IKEA’s OXBERG is an easy option), then line the inside with LED strips or stick-on puck lights. Instant chic.
🎨 3. Back Panel Upgrade
Remove the back panel and replace it with patterned wallpaper, rattan, or peel-and-stick tiles. It’s an easy way to add depth and texture without touching the shelves themselves.
🎯 4. Slim it Down
Not enough space for a full BILLY? Hack a single BILLY into a narrow, wall-mounted display by trimming it to size and securing it to the wall horizontally. Works great as a hallway or bathroom feature.
KALLAX Shelf Hacks – From Cube Storage to Conversation Starter
The KALLAX is probably the most hacked IKEA shelf of all time — but don’t worry, we’re not just slapping on legs and calling it a day. These are fresh ideas that go beyond the basic.
🧱 1. Turn It Into a Bench Seat (With Storage!)
Lay a 2×4 KALLAX unit on its side, add a custom cushion on top, and you’ve got yourself a stylish window bench or entryway seat. The cubes underneath? Perfect for shoes, baskets, or books.
Style Tip: Use velvet or boucle fabric for the cushion to give it a luxe, elevated feel.
🎧 2. Build a Record Player Console
Attach mid-century-style legs, line the cubes with vinyl records, and carve out space on top for your turntable and speakers. Bonus points for adding cane or mesh inserts to hide clutter while still letting sound pass through.
🪞 3. Add a Mirrored or Glossy Finish
Wrap the exterior in mirrored adhesive panels or high-gloss vinyl. It reflects light and makes small spaces feel bigger — and way more modern.
🧠 4. Create a Room Divider
Stack two KALLAX units back-to-back and anchor them securely. Use them to divide a studio or open-plan space while doubling as accessible storage from both sides.
LACK Shelf Hacks – Sleek, Simple, and Seriously Underrated
The LACK series might look basic, but that clean design is the perfect blank canvas. These hacks turn it from “just a floating shelf” into something way more impressive.
🔲 1. Floating Nightstands
Install a pair of LACK shelves on either side of your bed to use as nightstands. Pair with a wall sconce above and a small catch-all tray — no legs, no clutter, no wasted floor space.
Rental-friendly tip: Use Command picture hanging strips if you’re avoiding wall damage.
🪄 2. Slimline Desk Setup
Mount a single LACK shelf at desk height, and pair it with a stool or a wall-mounted monitor for a compact workstation. Perfect for narrow rooms or hallway offices.
🌱 3. Vertical Plant Wall
Stack three or four LACK shelves vertically and fill them with trailing plants, mini pots, or sculptural decor. It adds height, colour, and a ton of personality — no floor space needed.
🎥 4. Floating Media Shelf
Use LACK shelves under a wall-mounted TV to hold consoles, remotes, and decor. Paint them the same colour as your wall to create a built-in look on a budget.
EKET Shelf Hacks – Modular Magic for Any Room
The EKET series is all about cubes and combos — which makes it perfect for custom setups. Whether you stack them, wall-mount them, or mix different colours, EKET is like LEGO for adults.
🧱 1. Asymmetrical Wall Grid
Mount EKET cubes of different depths and colours in an irregular pattern on a blank wall. It becomes part shelving, part art installation — and 100% eye-catching.
Pro tip: Use masking tape to plan out your layout on the wall first, so you can visualise spacing and balance.
👟 2. Mini Mudroom or Shoe Station
Stack two or three EKET units vertically near your entryway. Add a cushion on top, and suddenly it’s a slim shoe bench with hidden storage — great for narrow hallways.
🧸 3. Kids’ Room Colour Block Storage
Mix bold-coloured EKET cubes at kid-height for easy access toy storage. Bonus: they can help tidy up because everything’s visible and reachable (and fun!).
🖼 4. Floating Bedside Cubes
Mount two EKET cubes beside your bed — one for your bedtime reads, one for a small lamp and glass of water. It’s minimal, stylish, and totally off the floor.
Creative Materials You Might Not Have Thought Of
Sure, you could just paint your shelf and call it a day. But if you want something that really stands out, it’s all about mixing in unexpected textures and finishes. Here are some creative materials that are budget-friendly, renter-safe, and totally transformative:
🧵 Cane Webbing
Instantly adds warmth and texture — especially on door or drawer fronts. Use a staple gun or strong adhesive to attach it to backing boards, or frame it within open shelves for a soft, boho vibe.
🪵 Wood Dowel Detailing
Glue slim dowels vertically across door panels or sides of shelves, then paint them all one colour for a high-end, fluted look. Great for turning a flat surface into something with real depth.
🪞 Peel-and-Stick Wallpaper or Contact Paper
Want marble, terrazzo, or wood grain without the cost or commitment? Wrap the back panel of a bookcase or the top of a LACK shelf in peel-and-stick for an instant upgrade — no mess, no fuss.
🛠 Brass or Leather Pulls
Adding stylish handles to a KALLAX drawer insert or BILLY door gives it a bespoke feel. Brass for a luxe look, or leather for a warm, modern touch.
💡 LED Light Strips or Puck Lights
Stick-on lighting can make even the simplest IKEA shelf feel designer. Use warm light to highlight decor, or coloured LEDs for a fun, ambient effect.
🔩 Hairpin or Wooden Legs
Yes, adding legs isn’t new — but choosing the right ones can completely change the look. Think industrial black metal, Scandi-style angled wood, or even acrylic for a “floating” effect.
Rental-Friendly IKEA Shelf Hacks – No Damage, No Drama
Love the idea of hacking your IKEA shelf but worried your landlord might freak out? Don’t stress. There are plenty of ways to upgrade your shelves without leaving a single mark behind.
🧷 1. Use Adhesive Hooks & Strips Instead of Screws
Command strips, Velcro tape, and no-drill wall hooks are your best friends. They’ll hold lightweight shelves or decor securely and come off clean when you move out.
Tip: Want a “floating” look without drilling? Mount your LACK shelf with extra-strong adhesive brackets designed for temporary use.
🎨 2. Wrap, Don’t Paint
Instead of painting your shelf (which can void returns or ruin resale value), wrap it with contact paper or removable wallpaper. Wood grain, marble, matte black — whatever your style, there’s a wrap for it.
🪞 3. Stick-On Legs and Feet
Use peel-and-stick furniture risers or attach legs with removable adhesive pads. It lifts your shelf off the floor without tools — perfect for renters who still want that “custom” look.
💡 4. Clip-On or Battery-Powered Lighting
Skip hardwiring or wall-mounting and go with clip-on lights or battery-operated LED strips. Most come with adhesive backs and remote controls for total convenience.
🔄 5. Modular Means Reversible
Use cube inserts, baskets, and decor to style your shelves creatively — no tools or alterations needed. You get all the custom feel, and when it’s time to move, you can take it all with you (intact).
Before You Start: Tools & Tricks for a Smooth DIY
You don’t need a garage full of power tools to pull off an amazing shelf hack — just a few smart tools and tricks to make life easier. Here’s what helps most DIYers get the job done without drama:
🛠 Basic Tools You’ll Actually Use
- Measuring tape – Measure twice, cut (or stick) once.
- Level – Crucial for wall-mounted hacks. Wonky shelves are never chic.
- Screwdriver or electric drill – A manual one works fine for most IKEA tweaks.
- Utility knife – Perfect for cutting contact paper, dowels, and other detail work.
- Staple gun or heavy-duty adhesive – For attaching things like cane webbing or backing materials.
🎯 Beginner-Friendly Tips to Keep in Mind
- Dry-fit everything first – Before sticking, drilling, or gluing anything, lay it all out to make sure it looks the way you want.
- Keep it reversible – When possible, use non-permanent methods like velcro, clips, or adhesive pads so you can undo things later if needed.
- Use painter’s tape to plan layouts – Especially useful for wall-mounted EKET or LACK setups. It saves you from regret (and drywall repairs).
- Less is more – You don’t need to do everything to make your shelf look amazing. One clever tweak often beats five so-so ones.
Wrap-Up: Make It Yours
Here’s the truth: you don’t need a massive budget, a design degree, or a fully stocked workshop to create something incredible. That plain IKEA shelf sitting in your home right now? It’s full of potential.
With the right materials, a little creativity, and a handful of smart hacks, you can turn it into something that doesn’t just fit your space — it defines it. Whether you go bold with colour, add texture with cane webbing, or just shift how it’s used, the point is this:
Your home should reflect you.
So pick one idea. Try it out. Start small if you need to. But don’t settle for “just fine” when your shelf — and your space — can be so much more.
Because when you put your stamp on something, it stops being mass-produced. It starts being personal.
And that’s what makes a house feel like home.
Alex is the creator of Homely Haven, a space dedicated to simple, stylish ideas for interiors and gardens alike. With a passion for cozy living rooms, inviting outdoor spaces, and practical DIY solutions, Alex shares tips and guides that help turn any house into a true home.
From budget-friendly decorating hacks to weekend garden projects, the goal is always the same: to inspire you to create spaces that feel personal, beautiful, and welcoming. When not writing, Alex is usually rearranging furniture, sketching new garden layouts, or exploring design trends for the next project.