Stop me if you’ve heard this one before…
You pull out a bottle of “all-purpose cleaner,” give your wood table a few quick sprays, and start wiping. But instead of that rich, warm glow, you’re left with a streaky film — or worse, a weird faded patch you can’t unsee. You panic a bit, maybe Google something like “how to fix cloudy wood finish,” and now you’re in a black hole of contradicting advice.
If that sounds familiar, you’re not alone. Whether you’re trying to clean a second-hand vintage dresser, maintain that high-end sideboard you splurged on, or just keep your rented furniture in good shape — the last thing you want to do is mess it up.
Here’s the truth: wood is beautiful, but it’s also sensitive. And most store-bought cleaners don’t care what they strip away — including the natural oils and finish that make your furniture shine in the first place.
That’s why this article is going to show you how to clean wood furniture naturally — using gentle, effective methods that preserve the grain and enhance the beauty of your pieces, not ruin them. No fancy equipment. No harsh chemicals. Just smart, simple care.
Why Go Natural?
Most wood furniture doesn’t need much to stay beautiful — but it can be ruined surprisingly fast by the wrong cleaner.
Many off-the-shelf sprays contain alcohol, ammonia, or synthetic fragrances. These ingredients can strip natural oils, dry out the wood, or leave behind a residue that dulls the finish over time. Worse, on vintage or untreated wood, they can cause blotching or discolouration that’s hard (or impossible) to reverse.
So why go natural?
Because natural cleaning methods:
- Protect your furniture instead of weakening it.
- Are safe to use around kids, pets, and sensitive noses.
- Cost next to nothing — you’ve probably already got most of the ingredients at home.
- Bring out the natural warmth and grain of the wood instead of masking it with a fake shine.
The key is knowing which natural ingredients actually work — and which to avoid.
In the rest of this guide, you’ll get simple, trusted recipes and tips that clean gently, preserve beauty, and extend the life of your wood furniture.
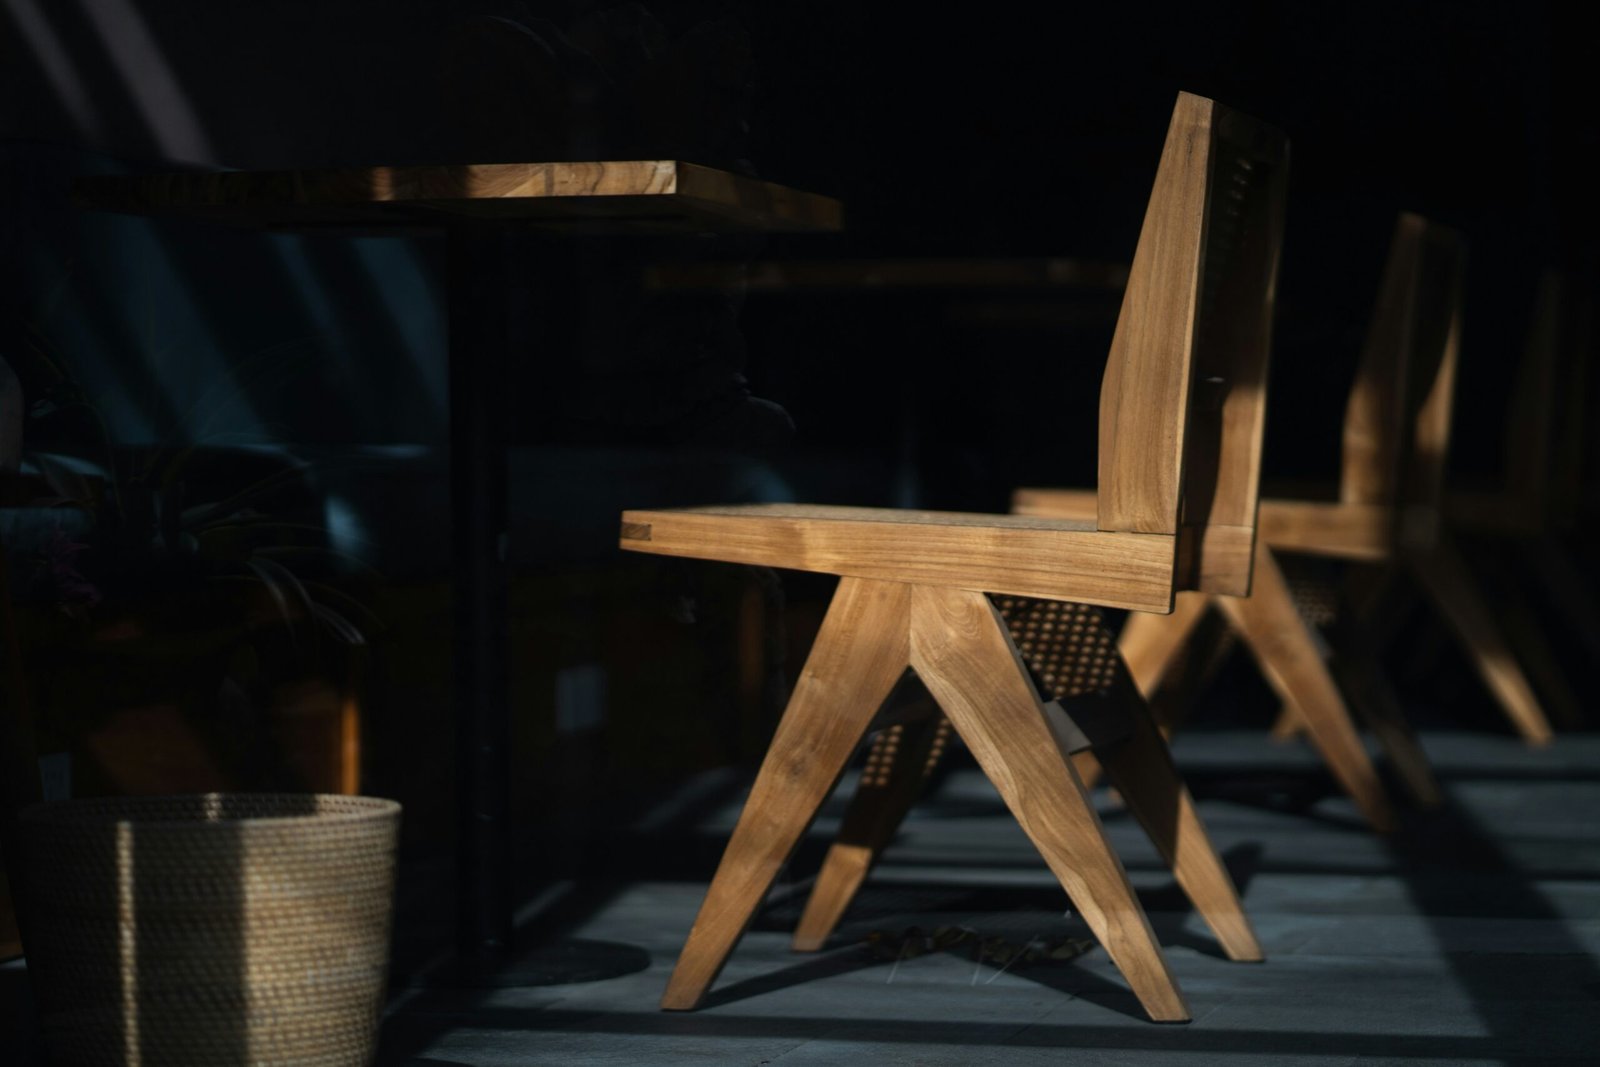
Know Your Wood
Before you start cleaning, it’s important to know what you’re working with. Not all wood is the same, and neither are the finishes. What works well on one piece might damage another.
Here’s how to keep it simple:
1. Solid Wood vs. Veneer
- Solid wood furniture is made entirely from wood — it’s sturdy and can usually handle a bit more moisture.
- Veneer is a thin layer of wood glued over another material (like MDF). It can be more delicate and is easily damaged by water or oil.
Tip: Look at the grain — if it continues seamlessly around corners or inside drawers, it’s likely solid. If it stops abruptly, it’s probably veneer.
2. Finished vs. Unfinished
- Finished wood has a protective layer (like varnish, lacquer, polyurethane, or wax). You can usually clean it a bit more confidently.
- Unfinished wood has no protective coating — it’s raw and absorbs moisture quickly. This type needs extra care.
Quick test: Rub a tiny drop of water in an inconspicuous spot. If it beads up, the wood is finished. If it soaks in, it’s unfinished.
3. High-Gloss, Matte, or Oiled Finishes
- High-gloss finishes can show streaks easily.
- Matte finishes may absorb oils unevenly.
- Oiled finishes (like teak or Danish oil) need regular conditioning, not harsh cleaners.
Knowing what you’ve got helps you choose the right method — and avoid ingredients that could cause damage or discolouration.
Daily Dusting & Light Cleaning
If you want your wood furniture to stay beautiful, the easiest thing you can do is this: dust it regularly.
Dust might seem harmless, but over time, it acts like fine sandpaper. It can dull the finish, scratch the surface, and make your furniture look tired and worn.
What to Use
- Microfibre cloth: Soft, non-abrasive, and traps dust instead of pushing it around.
- Cotton cloth: Works too — just avoid anything rough or linty.
- (Optional) Light misting: If dust is thick, lightly dampen your cloth with plain water. Never spray directly onto the wood.
How to Dust Properly
- Wipe in the direction of the grain — this helps prevent micro-scratches.
- Use gentle pressure. You’re not scrubbing; just lifting dust away.
- Dust weekly, or more often if the piece is near a window, heater, or fan.
For Fingerprints and Light Marks
For light smudges or fingerprints (especially on dining tables or chair arms), try this:
Quick Natural Cleaner:
- Mix a few drops of natural dish soap (like castile soap) in warm water.
- Dampen a cloth (not soaking wet!) and wipe gently.
- Follow with a dry cloth to remove moisture.
That’s it. No chemicals, no residue, no stress.
Deep Cleaning with Natural Solutions
Sometimes, dusting isn’t enough — especially if you’re dealing with sticky buildup, light staining, or dullness from neglect. That’s where natural deep cleaning comes in.
Forget commercial sprays. You can make powerful, wood-safe cleaners with simple kitchen ingredients — if you know how to combine them.
1. Vinegar + Olive Oil Cleaner (For Finished Wood)
This combo removes grime and nourishes the wood. Vinegar cuts through residue, while oil conditions and revives the shine.
What you need:
- 1 part white vinegar
- 3 parts olive oil
- Optional: a few drops of lemon essential oil for scent
How to use:
- Shake well before each use.
- Apply to a soft cloth (never directly to the furniture).
- Wipe in the direction of the grain.
- Buff with a clean, dry cloth to remove excess oil.
Note: Don’t use this on unfinished wood or if you’re unsure about the finish — the oil can soak in and cause blotching.
2. Lemon Juice + Baking Soda Paste (For Spot Cleaning)
This gentle paste lifts grime from sticky spots without scratching the wood.
What you need:
- 1 tbsp lemon juice
- 2 tbsp baking soda
How to use:
- Mix into a paste.
- Apply with a cloth to the problem area.
- Gently rub, then wipe clean with a damp cloth and dry immediately.
3. Mild Soap + Water (Universal Option)
For a safe, no-fuss clean:
What you need:
- A small bowl of warm water
- A few drops of natural dish soap
How to use:
- Dip your cloth in the solution and wring it out well.
- Wipe the surface gently.
- Rinse the cloth with clean water, wring again, and wipe off any soap residue.
- Finish with a dry cloth.
This method is safe for most wood types — as long as you don’t over-wet the surface.
Spot Treatment – Stains, Water Rings, and More
No matter how careful you are, life happens. Someone forgets a coaster. A plant pot leaks. You’re left with a white ring, dark stain, or mystery mark — and now you’re wondering if it’s permanent.
Don’t panic. Many marks can be treated with natural methods — if you act carefully.
Water Rings (White Marks)
These are usually caused by moisture getting trapped in the finish — not the wood itself.
Try this:
- Mix equal parts baking soda and non-gel toothpaste.
- Rub gently with a soft cloth, in a circular motion.
- Wipe clean with a damp cloth and dry.
- Follow up with a dab of olive oil or a natural polish.
Still there? Try gently warming the area with a hairdryer on low, moving it around so you don’t overheat one spot. The warmth can help release trapped moisture.
Dark Stains (Water that’s reached the wood)
These are tougher, because the stain has soaked in.
Try this (if the wood isn’t varnished):
- Dab the spot with white vinegar or a lemon juice + salt mixture.
- Let it sit briefly, then rub gently.
- If it lightens, repeat over time — don’t expect instant results.
Important: Don’t try this on delicate finishes or antique veneer. When in doubt, spot test in an unseen area.
Sticky Residue or Old Polish Buildup
Solution:
- Mix equal parts water and white vinegar.
- Dampen a cloth, wring it out well, and gently wipe the area.
- Dry immediately with a clean cloth.
This cuts through old wax or greasy layers without stripping the wood.
Polishing and Preserving the Grain
Once your wood furniture is clean, it might look… a little flat. That’s because cleaning removes surface dust and grime — but not all polishes restore the natural warmth and glow of the wood.
Here’s how to bring the grain back to life — the natural way.
Why Polish Matters
Polishing isn’t just about shine. It:
- Nourishes the wood, especially if it’s dry or older.
- Protects the finish by creating a slight barrier against moisture and dust.
- Enhances the natural grain, making the piece look richer and more vibrant.
DIY Natural Wood Polish
This blend gives your furniture a subtle, healthy glow — without feeling greasy or sticky.
What you need:
- ½ cup olive oil or jojoba oil (jojoba is longer-lasting)
- ¼ cup white vinegar or lemon juice
- Optional: a few drops of essential oil (like lemon or lavender)
How to use:
- Shake well before each use.
- Apply to a soft cloth and rub into the wood in the direction of the grain.
- Buff with a dry cloth to remove any excess and bring out the shine.
Use every few weeks, or whenever the piece starts to look dry.
Tip: Don’t Overdo It
Too much oil can attract dust or leave a sticky film. Less is more — always buff thoroughly after polishing.
Dos and Don’ts
Before you grab your cloth and cleaner, keep these quick tips in mind. They’ll help you avoid the most common mistakes people make when caring for wood furniture.
✅ DOs
- Do test first: Always try your cleaning solution on a hidden spot to check for reactions.
- Do use soft cloths: Microfibre or cotton only — never anything abrasive.
- Do wipe with the grain: This helps protect the finish and maintain a smooth look.
- Do dry immediately: Moisture is wood’s enemy. Always follow up with a dry cloth.
- Do clean regularly: Light dusting and occasional deep cleans prevent buildup that’s harder to fix later.
❌ DON’Ts
- Don’t use harsh chemicals: Ammonia, bleach, or alcohol-based products can damage finishes and dry out wood.
- Don’t soak the surface: Water can seep in and cause warping, stains, or mildew.
- Don’t forget the finish: Know whether your piece is oiled, lacquered, or unfinished — it matters.
- Don’t spray directly onto furniture: Always spray your cloth instead. This gives you better control and prevents oversaturating.
- Don’t polish too often: Once every few weeks is plenty — more than that can create buildup.
Wrap Up – Keep It Clean, Keep It Beautiful
Wood furniture doesn’t need a complicated routine or a cupboard full of specialist products. With a few simple ingredients and the right techniques, you can keep your pieces looking their best — naturally.
The key is consistency and care:
- Dust regularly to prevent scratches.
- Use gentle, natural cleaners that nourish instead of strip.
- Treat stains and rings early, before they set in.
- Polish when needed, to revive the grain and add protection.
And remember: always know what kind of wood and finish you’re working with before diving in. A little awareness goes a long way in keeping your furniture beautiful for years to come.
So whether it’s an heirloom cabinet or a second-hand side table, you now have the tools to clean it properly — and let the natural grain shine through.
Alex is the creator of Homely Haven, a space dedicated to simple, stylish ideas for interiors and gardens alike. With a passion for cozy living rooms, inviting outdoor spaces, and practical DIY solutions, Alex shares tips and guides that help turn any house into a true home.
From budget-friendly decorating hacks to weekend garden projects, the goal is always the same: to inspire you to create spaces that feel personal, beautiful, and welcoming. When not writing, Alex is usually rearranging furniture, sketching new garden layouts, or exploring design trends for the next project.