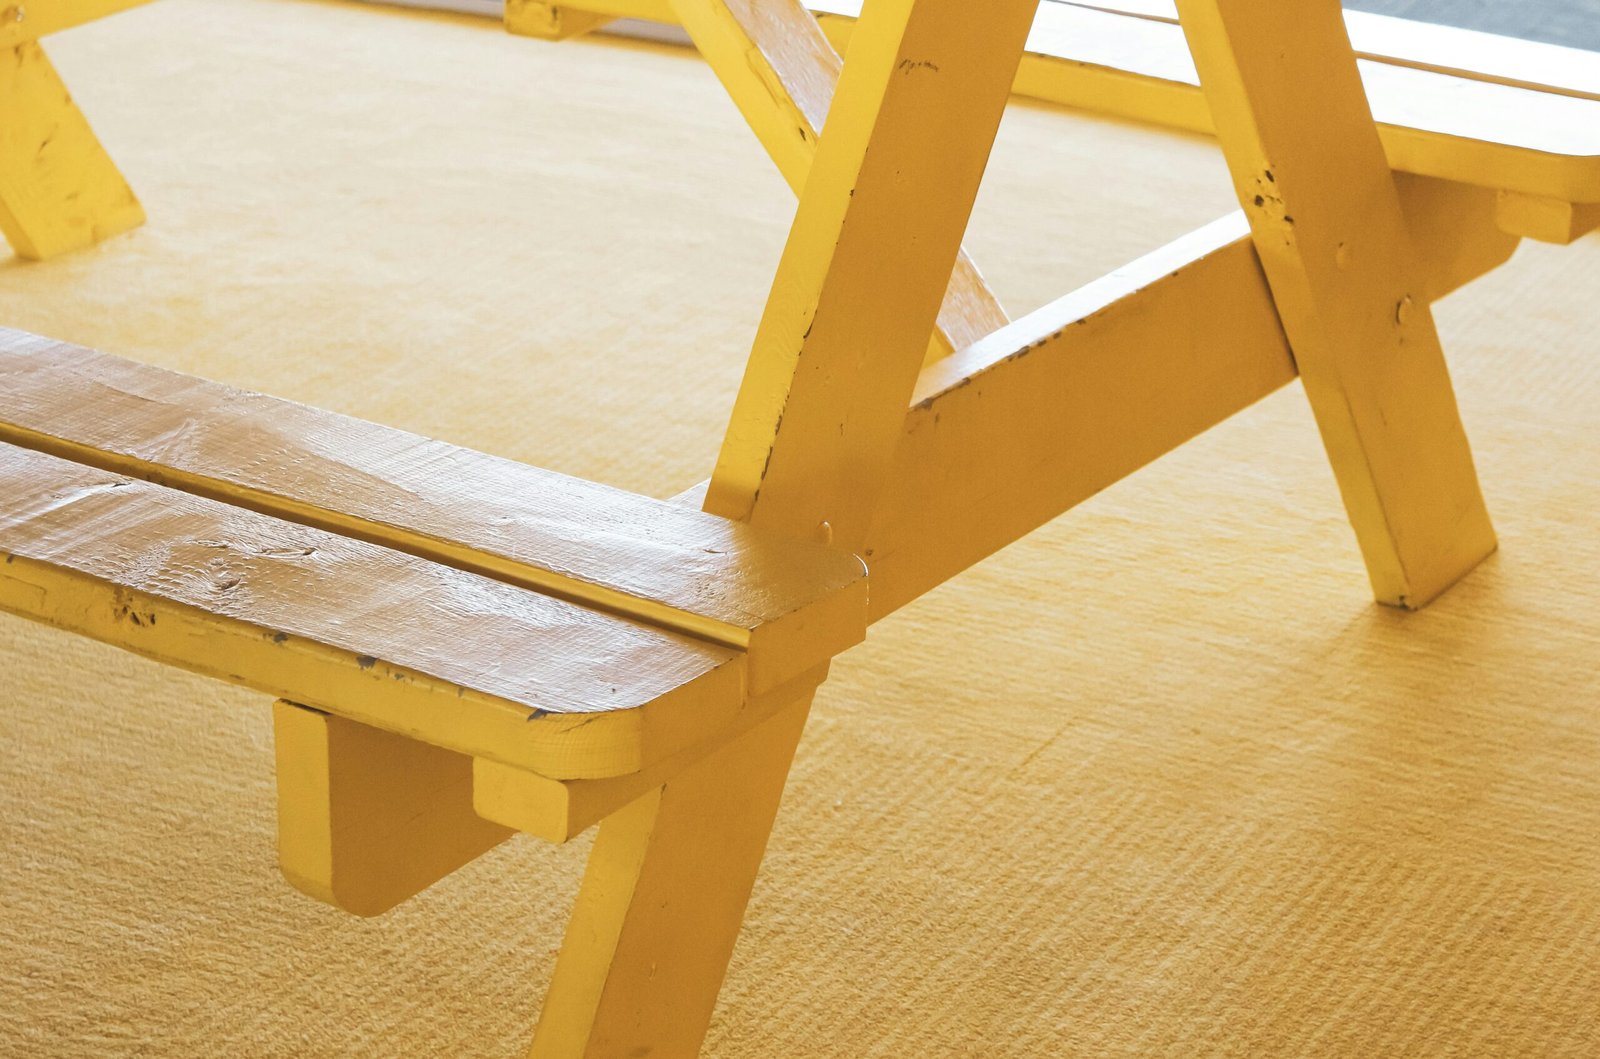
You paint a chest of drawers. It looks amazing for a week—maybe two. Then the edges start to chip. A drawer sticks and suddenly the paint scrapes. Now it’s scratched, patchy, and you’re wondering what went wrong.
Sound familiar?
You’re not alone. Whether it’s your first project or your fifteenth, painting furniture can be frustrating when the results don’t last—or worse, don’t look smooth to begin with. There’s so much conflicting advice online, from “just use chalk paint, no prep needed” to “you must sand, prime, and seal like a pro or it’s all going to fall apart.”
Here’s the truth: painting furniture doesn’t have to be complicated. But it does need a few key steps done right.
I’ve been through the messy trial and error so you don’t have to. In this guide, you’ll get real, honest tips that actually work—whether you’re working with a £10 Facebook Marketplace find or a beloved hand-me-down.
What you’ll walk away with:
- Clear, step-by-step advice for painting furniture
- The tools and prep that actually matter (and what’s a waste of time)
- Simple techniques for smooth finishes that hold up for years
Let’s make your next project your best one yet.
The Big Myths About Painting Furniture
Before you start sanding or reach for your favourite tin of chalk paint, let’s clear something up: there’s a lot of bad advice out there.
And sure, some of it can work in specific situations—but if you want smooth, long-lasting results that survive daily use, these common shortcuts are more likely to let you down.
Myth #1: “You don’t need to prep if you use chalk paint.”
This one’s everywhere. Chalk paint has a reputation for sticking to anything, and while that’s technically true, skipping prep often leads to scratches, scuffs and peeling down the line. Especially on glossy, laminated or high-touch surfaces like tabletops and drawers.
The truth: Even if you’re using chalk paint, a quick sand and a good clean go a long way. Think of prep as giving your paint something to grip onto.
Myth #2: “More coats = a better finish.”
You’ve probably been tempted to keep layering when a piece isn’t looking smooth. But piling on paint can actually create texture, not hide it—especially with brushes.
The truth: Less is more. One or two well-applied coats with proper drying time in between will look better (and last longer) than five rushed layers.
Myth #3: “Sealant is optional.”
If your piece looks great after painting, you might wonder if you really need a topcoat. But furniture takes a beating—especially if it’s something like a coffee table, dresser or desk.
The truth: A good sealant or topcoat is what protects all your hard work. Without it, even the best paint job will start to show wear too soon.
Myth #4: “You need loads of expensive tools to get a pro finish.”
Nope. You don’t need a spray gun, industrial sander or high-end brushes to get a smooth result.
The truth: With a bit of knowledge and the right technique, you can get excellent results using affordable tools from your local hardware shop—or even items you already have.
What You Actually Need
Let’s be honest—standing in the paint aisle is overwhelming. There are brushes, rollers, primers, paints, sealants… and a lot of clever marketing.
Here’s a no-fluff guide to what actually matters when it comes to painting furniture—and what you can skip.
1. Paint: Get the Right Type
There are loads of options, but these are the three most common for furniture:
- Chalk paint – Easy to apply, good for vintage or matte finishes. Needs sealing.
- Acrylic/latex paint – Budget-friendly, dries quickly, available in lots of colours. Needs priming and sealing.
- Enamel paint (water-based or oil-based) – Durable and smooth, but often trickier to apply. Best for high-traffic pieces.
💡 Tip: Choose based on the piece’s purpose. Chalk paint for decorative items, enamel for kitchen cabinets or desks, and acrylic for general use.
2. Primer: Not Always Optional
If the surface is glossy, stained, or dark, or you’re using a lighter paint colour, primer helps with coverage and adhesion.
Skip the primer only if:
Use it when:
- You’re painting over laminate, metal, or raw wood.
- You’re switching from dark to light colours.
3. Brushes and Rollers: Keep It Simple
You don’t need a pricey set—just the right tool for the right finish.
- Foam rollers – Perfect for large, flat surfaces. They give a smooth, even coat with minimal marks.
- Synthetic brushes – Great for edges, detail work, and tricky corners.
- Foam brushes – Useful for touch-ups and applying sealant.
🛑 Avoid natural bristle brushes with water-based paint—they tend to leave streaks.
4. Sandpaper: Your Best Friend
You’ll need it for two things:
- Before painting: To rough up glossy surfaces so paint sticks.
- Between coats: A light sand helps each layer go on smoother.
Recommended: Medium (120–150 grit) for prep, fine (220+ grit) for between coats.
5. Cleaner/Degreaser: Don’t Skip This
Paint won’t stick to grime, dust, or oils. A quick clean with sugar soap or a degreasing cleaner makes a big difference—especially on second-hand furniture or kitchen items.
6. Sealant/Topcoat: The Real MVP
Whether it’s wax, polyurethane, or clear enamel, your topcoat is what makes the finish last. Match the type to your paint (water-based with water-based, etc.) and how much wear the piece will get.
The Right Prep
Here’s the truth: if your paint isn’t sticking, looking smooth, or lasting more than a few months, it’s almost always a prep problem.
You don’t need to spend hours on this stage—but you do need to do it properly. Here’s how to get it right, without overcomplicating things.
1. Clean First (Always)
Before you even think about sanding, paint, or primer, your piece needs a good clean.
- Use sugar soap, a degreasing cleaner, or even dish soap and warm water.
- Wipe down every surface—especially corners, edges, and handles.
- Let it dry completely before moving on.
🧼 Why it matters: Paint won’t stick to grease, dust, or old polish. Cleaning is the #1 step most people skip—and the #1 reason paint peels later.
2. Remove Hardware
If your furniture has knobs, handles, or hinges, take them off. You’ll get a much cleaner paint job and avoid trying to paint around awkward corners.
Pro tip: Put the hardware in a labelled sandwich bag so you don’t lose screws.
3. Sand it Down
Sanding is what gives your paint something to grip. You’re not trying to remove the old finish—just dull the surface.
- Use 120–150 grit sandpaper for glossy or previously painted surfaces.
- If the surface is already rough or matte, a quick once-over with 220 grit is enough.
🌀 Electric sanders make this faster, but hand sanding works too—especially on smaller pieces.
4. Wipe Off Dust
After sanding, wipe the piece with a slightly damp cloth or a tack cloth. Dust left behind will mess up your finish and can create bumps in your paint.
5. Prime (If Needed)
Here’s the rule: If in doubt, prime it.
You should prime if:
- The surface is glossy or laminate.
- You’re painting a light colour over a dark base.
- The piece is stained wood (to prevent bleed-through).
You can skip priming if:
Paint Like a Pro
Here’s the goal: a smooth, even finish with no brush strokes, no weird bubbles, and no patchy spots.
You don’t need to be a perfectionist—but you do need a game plan. This section breaks down how to apply your paint the right way.
1. Stir, Don’t Shake
Before you open that tin, stir the paint thoroughly with a stick or flat tool. Shaking it can cause bubbles, which lead to a bumpy finish.
2. Use Thin Coats (Yes, Really)
It’s tempting to slap on a thick coat to cover faster—but that’s exactly how you end up with brush marks, drips, or uneven drying.
- Dip your brush or roller lightly.
- Apply a thin, even coat.
- Let each layer dry completely before adding the next (check the tin for dry times).
🎯 Two coats usually do the job. Three max.
3. Choose the Right Tool for the Job
- Flat surfaces? Foam roller. Smooth, streak-free, fast.
- Detailed or curved areas? Synthetic brush. Use long, even strokes.
- Edges or tight spots? Angled brush or foam brush.
💡 Always paint in the direction of the wood grain for the smoothest result.
4. Light Sand Between Coats
Once each coat dries, do a super quick sand with fine-grit (220+) sandpaper or a sanding sponge. It smooths out any raised fibres or paint texture and gives the next coat something to grip.
Wipe away dust before painting again.
5. Check Your Lighting
Paint in natural daylight or under a bright light so you can spot drips, missed spots or streaks as you go. Trust me, it’s much easier to fix them before it dries.
6. Be Patient with Drying Time
This is where people often rush. If your paint feels dry to the touch, that’s great—but that doesn’t mean it’s fully cured underneath.
🕒 Stick to the paint’s recommended drying time, even if it feels “ready.” If you apply another coat too early, you’ll drag the paint and ruin your finish.
Drying, Sealing & Curing
You’ve prepped, painted, and maybe even stood back and admired your handiwork—but the job isn’t done yet.
Skipping or rushing the final steps is the quickest way to ruin your finish. Here’s how to protect your piece so it stays looking good for years, not weeks.
1. Let the Paint Fully Dry
Even if it feels dry to the touch, furniture paint often needs several hours (sometimes a full day) to dry properly—especially if you’ve done multiple coats.
🕐 Dry = Not sticky.
🧱 Cured = Rock solid.
Drying happens in hours. Curing takes days or even weeks, depending on the paint. Avoid heavy use during that curing window.
2. Choose the Right Sealer
Your topcoat needs to match your paint type and how the furniture will be used.
- Water-based polyurethane – Great all-rounder. Dries clear, low odour. Ideal for indoor pieces.
- Wax – Popular with chalk paint. Soft finish, easy to apply, but less durable and needs reapplying over time.
- Oil-based polyurethane – Extremely durable. Best for heavy-use surfaces but can yellow over time and takes longer to dry.
- Furniture lacquer or clear enamel – Smooth finish, great for modern looks. Spray versions are handy for smaller items.
🎨 Always test your topcoat on a hidden section first—it can sometimes change the paint colour slightly.
3. Apply the Sealer Smoothly
- Use a foam brush or lint-free cloth (for wax) or a synthetic brush (for liquid topcoats).
- Apply in thin, even coats. Don’t overwork it—let it self-level.
- Let each coat dry fully before adding another.
Two coats are usually plenty, but high-use pieces like tabletops or dining chairs might need three.
4. Give It Time to Cure
After sealing, avoid placing heavy items or decorations on the furniture for at least 5–7 days. If you can wait 21–30 days before full use, even better.
🛋️ Don’t drag objects across the surface during the curing period. That’s prime time for scuffs.
Common Mistakes to Avoid
You’ve come this far—don’t let one small slip undo all your hard work. These are the classic errors that trip people up, especially when rushing or following dodgy online advice.
1. Skipping the Prep
It’s boring, yes. But skipping cleaning, sanding, or priming is the #1 cause of paint that chips, peels, or just looks off. Even if you’re using “no-prep” paint, always do at least some surface prep.
2. Using the Wrong Paint for the Job
Chalk paint on a high-use kitchen table? Not ideal unless it’s sealed properly. Gloss paint on raw wood without primer? Also not great.
Make sure your paint suits the piece and the pressure it’ll face.
3. Thick Coats = Messy Results
More paint doesn’t mean better coverage. It means longer dry times, more brush strokes, and higher chances of peeling. Thin coats always win.
4. Not Letting Paint Dry Between Coats
Touch-dry doesn’t mean ready for the next layer. If you rush it, the paint underneath stays soft and the finish won’t last.
5. Ignoring Curing Time
This one’s sneaky. The paint feels dry, the topcoat looks great, so you start using the piece—and then it gets scratched or dented. Furniture needs curing time to harden fully, especially before heavy use.
6. Painting in the Wrong Conditions
Too hot, too cold, too humid—it all affects how paint behaves. Try to paint in a well-ventilated space around 10–25°C (50–77°F) for best results.
7. Using Old or Cheap Brushes
Old brushes can shed bristles or leave drag marks. Super cheap ones don’t hold paint well. You don’t need high-end gear, but mid-range synthetic brushes or foam rollers make a big difference.
8. Skipping the Sealant
You spent all that time getting the colour and finish right—don’t let it wear away after a few months. Even low-traffic pieces benefit from a protective topcoat.
Final Tips for Longevity
You’ve cleaned, sanded, painted, and sealed—so how do you make sure your piece stays looking fresh, not flaky?
These final tips are simple but powerful for keeping your furniture in top condition well after the paintbrushes are packed away.
1. Be Gentle During the First Month
Paint takes time to cure fully—especially if you’ve used multiple coats and a topcoat. For the first few weeks:
- Avoid stacking things on it.
- Don’t drag items across the surface.
- Keep it out of direct sun and humidity, if possible.
🕒 Curing = hardening. It’s what turns a good paint job into a lasting one.
2. Use Felt Pads and Coasters
Whether it’s a side table or a chest of drawers, adding felt pads under décor and coasters under drinks helps protect your surface from scratches and water rings.
3. Clean It Right
Avoid harsh cleaners—stick to a damp cloth and mild soap if needed. Anything too abrasive can damage the sealant or dull the finish.
🧴 Avoid alcohol- or ammonia-based sprays—they’ll wear down your topcoat over time.
4. Touch Up Small Chips Quickly
If you do spot a chip or scratch down the line, don’t ignore it. Lightly sand the area, repaint, and reseal. It’s easier to fix small damage early than let it grow.
5. Re-Wax if Needed (Chalk Paint Users)
If you sealed with wax, reapplying every 6–12 months helps maintain the finish and keeps the paint protected—especially on high-use pieces.
And finally…
6. Embrace the Character
A few nicks and dings are inevitable over time—and honestly, they add charm. Painted furniture isn’t meant to be flawless forever; it’s meant to be lived with and enjoyed.
Wrap-Up + Final Encouragement
If you’ve made it this far, you’re more than ready to paint furniture the right way.
And look, painting furniture isn’t about perfection—it’s about making something feel fresh, functional, and more you. Whether you’re flipping a Facebook Marketplace find, updating a family heirloom, or just trying something new, the steps you take before and after the paint go on are what make the biggest difference.
Let’s recap:
- Prep matters more than the brand of paint.
- Thin coats, dry time, and sanding between layers = smooth, pro-level finish.
- Seal it properly to protect all your hard work.
- And most importantly—be patient. Rushing is the fast track to flaky, chipped paint.
So go ahead. Pick your colour. Clear a little workspace. And start turning that “meh” piece of furniture into something you’re proud of.
You’ve got this.
Alex is the creator of Homely Haven, a space dedicated to simple, stylish ideas for interiors and gardens alike. With a passion for cozy living rooms, inviting outdoor spaces, and practical DIY solutions, Alex shares tips and guides that help turn any house into a true home.
From budget-friendly decorating hacks to weekend garden projects, the goal is always the same: to inspire you to create spaces that feel personal, beautiful, and welcoming. When not writing, Alex is usually rearranging furniture, sketching new garden layouts, or exploring design trends for the next project.